I have had quite a few of you readers ask me about cutting your freezer paper with a Silhouette cutter. I tried to do a little experimenting to figure out the best way to get the job done. Here we go.
Cut your freezer paper to match the size of your cutting mat. Use the thinner mat. Mine isn’t super sticky anymore, which probably helps a bit. I think that it’s a little trickier to weed out the design when the mat is brand new.
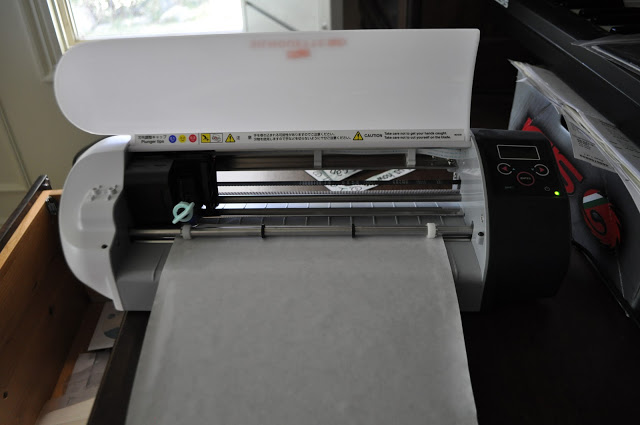
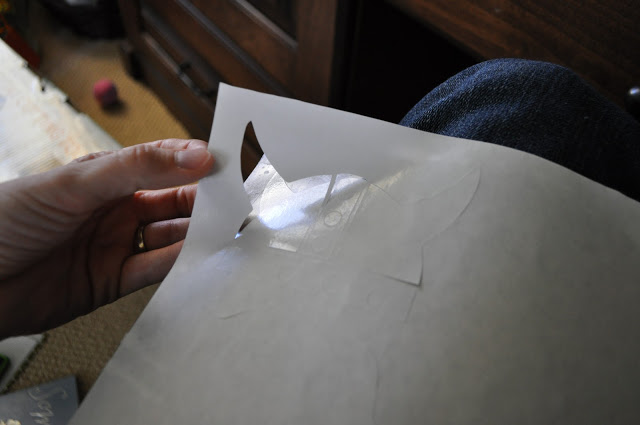
You’ll also want to make sure you load the paper shiny side up. (I heard Char share that tip once and I think it’s well worth repeating.) It seems to cut cleaner that way. If you’re cutting a design that isn’t symmetrical, you’ll have to be sure to flip your image.
For example, if you have text in the design, you need to flip the image horizontally so that when you iron the paper shiny-side-down to your fabric the words will read correctly.
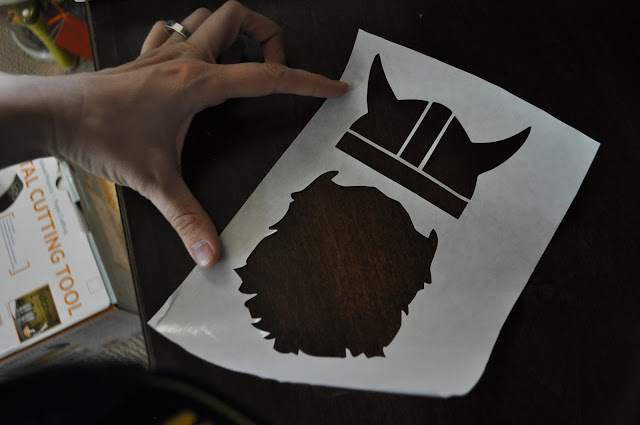
Now on to the settings. I felt the setting of vellum worked perfectly. That means my speed was set to 3 (which is pretty slow) and my thickness was set to 14. I used the blue cap on the blade.
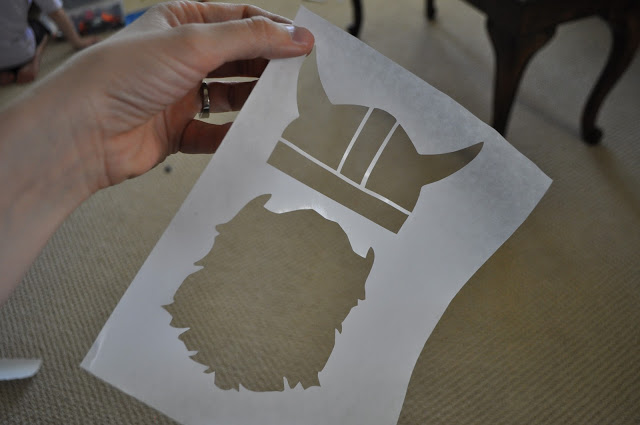
And? It came out perfectly. If you use these exact settings and it’s not cutting well for you, you might need a new blade. It could be a dullness issue. (Yeah, I’m now on a Viking kick.)
And that’s all I’ve got. Your freezer paper should be all set for your fabric.
Here is one interesting experiment with Silhouette Machine for you to check out:
Thanks for reading.