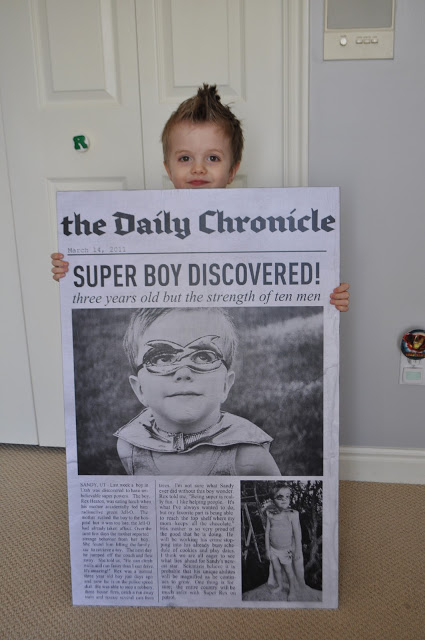
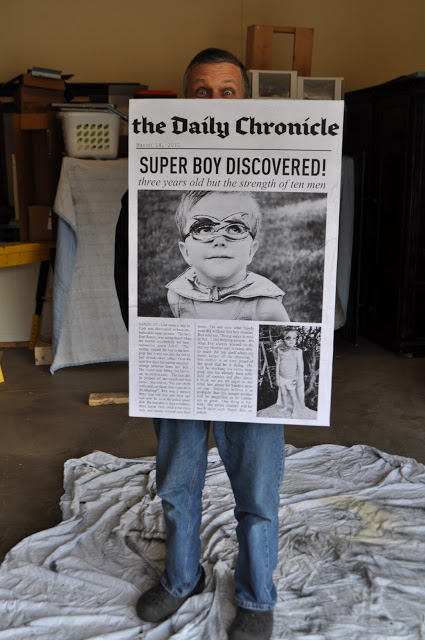
I have this last project I just finished for Rex’s superhero bedroom and then tomorrow will be the full reveal. I am nerdy excited about how this one came together. Rex had a phase where we watched A LOT of “the Incredibles.” Remember how Mr. Incredible had a room where he had all the newspaper articles of his heroics on the wall? Well, I wanted to mimic that idea by making a giant newspaper article about Super Rex. This is how it turned out.
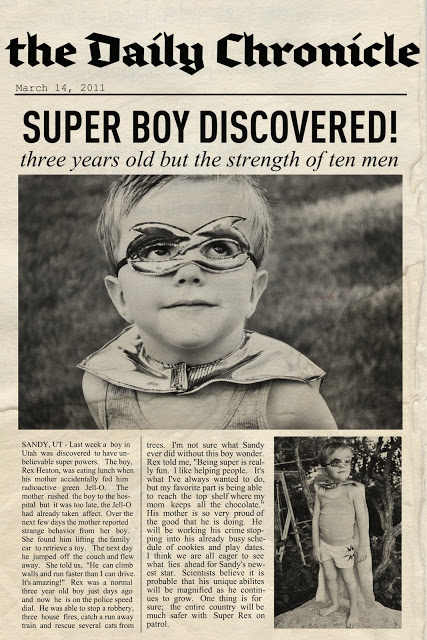
The first thing I did was call THIS sister and ask her to write a fun story for me about Rex. She is hilarious, extremely creative, and knows ALL there is to know about superheroes. This is the story she wrote since you can’t read it in the picture.
Last week a boy in Sandy, Utah was discovered to have unbelievable superpowers. The boy, Rex Heaton, was eating lunch when his mother accidentally fed him radioactive green Jell-O. The mother rushed the boy to the hospital but it was too late, the Jell-O had already taken effect. Over the next few days, the mother reported strange behavior from her boy. She found him lifting the family car to retrieve a toy. The next day he jumped off the couch and flew away. She told us, “He can climb walls and run faster than I can drive. It’s amazing!” Rex was a normal three-year-old boy just days ago and now he is on the police speed dial.
He was able to stop a robbery, three house fires, catch a run-away train, and rescue several cats from trees. I’m not sure what Sandy ever did without this boy wonder. Rex told me, “Being super is really fun. I like helping people. It’s what I’ve always wanted to do. But my favorite part is being able to reach the top shelf where my mom keeps all the chocolate.” His mother is so very proud of the good that he is doing. He will be working his crime-stopping into his already busy schedule of cookies and playdates. I think we are all eager to see what lies ahead for Sandy’s newest star. One thing is for sure; our city will be much safer with Rex on patrol.
Then I got to work on Picnik. I did everything the way I explained in the How to Create Your Own Printables tutorial. In case you are interested in making something similar I’ll give you some notes on the specifics. You could also make a giant “Wanted” sign for a cowboy room. You could incorporate the idea into a lot rooms, I think.
Anyhow, here are the picnik details of you’re interested. If not, skip to the next paragraph. I took a high-resolution picture and covered it with the geometric rectangle from the stickers section. I made it kind of newspaper colored. I added the title. I used the rectangle shape to make the line. I added the pictures in the edit section. There’s a tab at the bottom that says photo basket that lets you upload more pictures and place them where you want on top of the current photo.
I had previously edited the photos I added. The effect I chose on them was in the advanced section under curves. From the drop-down menu, I chose faded daguerreotype, which made it look more like a newspaper picture to me. I added the story, but since there is no option to justify the left and right side like a newspaper I had to add spaces myself until it looked justified. I changed it all to black and white (since the faded daguerreotype is more brownish) and saved the file. Then I uploaded it again so I could add a texture. I picked one that looked like torn paper so the newspaper would have an older look to it.
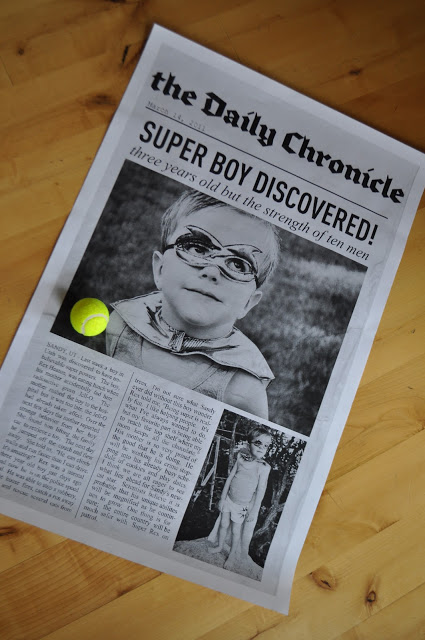
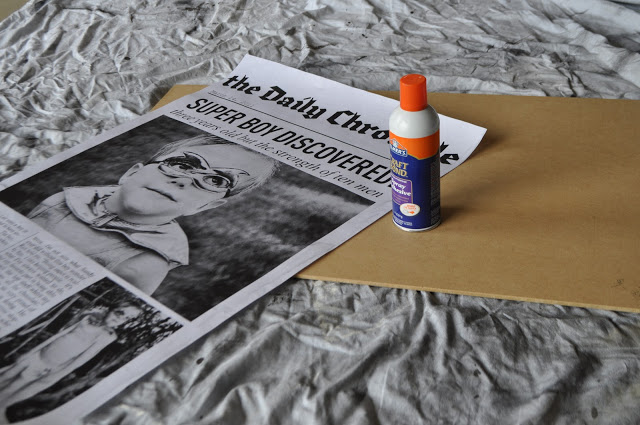
Now for the best detail. Want to know how much I spent on this project? $2.99 is all! I read THIS TIP from Ohdeedoh the other day. A reader had submitted the tip to print black and white photos as an “engineer blueprint” at Staples. It was $2.99 for a copy 2ft. by 3ft. AWESOME! This is what it looked like. (The tennis ball is just to give you an idea of the size of it.)
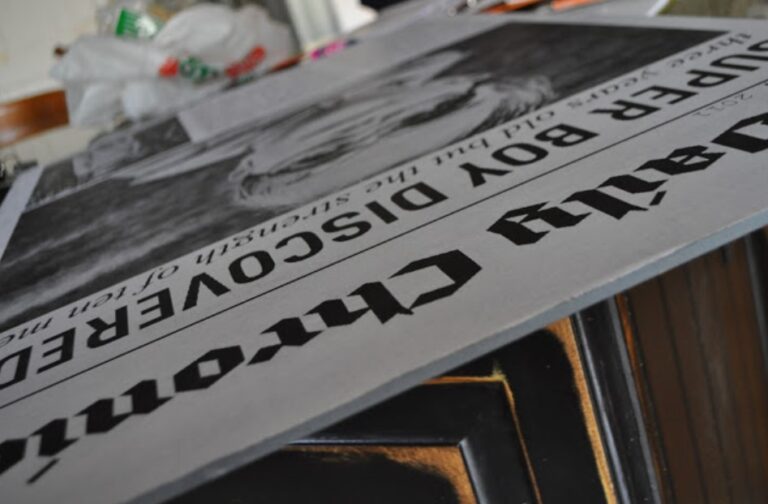
I trimmed the edges and my dad cut a piece of leftover MDF (that was about 1/4 inch thick) to be the same size. I planned to decoupage it on, but I got a great tip a while back from Laura at Ms. Smartie Pants (who indeed is a smarty pants 🙂 She said to use spray adhesive to apply the paper first. Otherwise, the mod podge makes the paper wrinkle and with something this big I knew it would be a hot mess.
We sprayed the board and the paper and stuck that baby on. My dad always has smart methods. We held the paper on exactly where we wanted it and then I pulled my half up, sprayed it, and stuck it down. Then we did his half. That way there was no sticking it crooked. The paper was a little bigger than the board in spots so I sanded the edges to remove it and make it flush with the board.
I painted the edges gray. (I did mod podge over the top afterward, but I probably could have even avoided this step. It made the paper pucker in places, but not that bad. I’m still totally happy with it.)
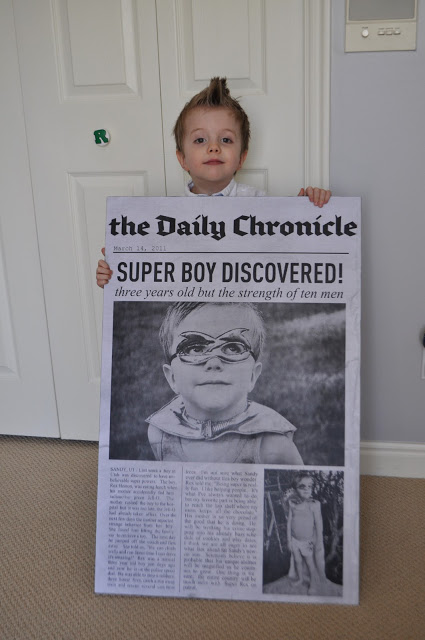
Rex thinks it’s pretty sweet. I absolutely love it because I love the giant blown-up picture of his little face on it. I also love his confidence. He seems quite sure that he could take on any bad guy and do anything that Ironman does. I hope he never loses that spirit.
I hung it up yesterday and you’ll see the whole she-bang tomorrow. I can’t wait!
Check out our original Superhero room idea.
Thanks for reading.