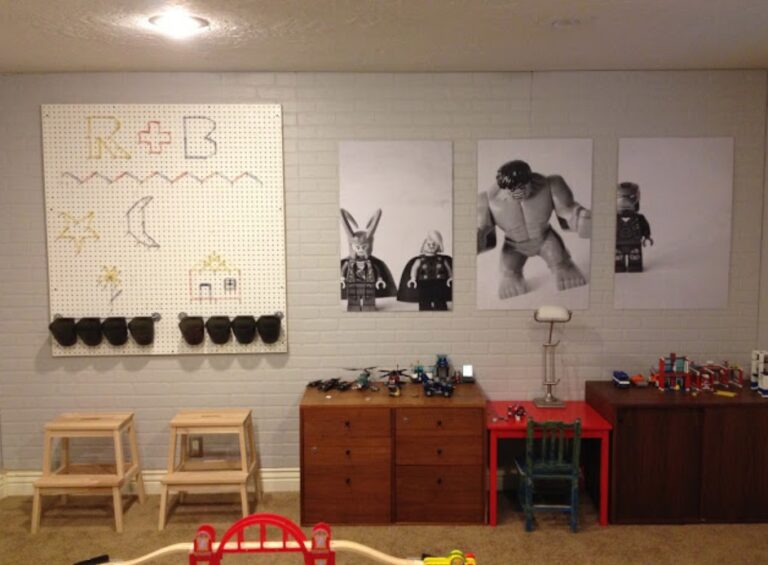
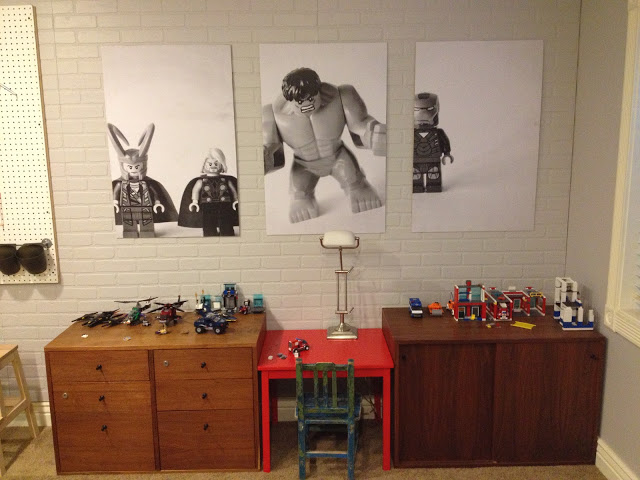
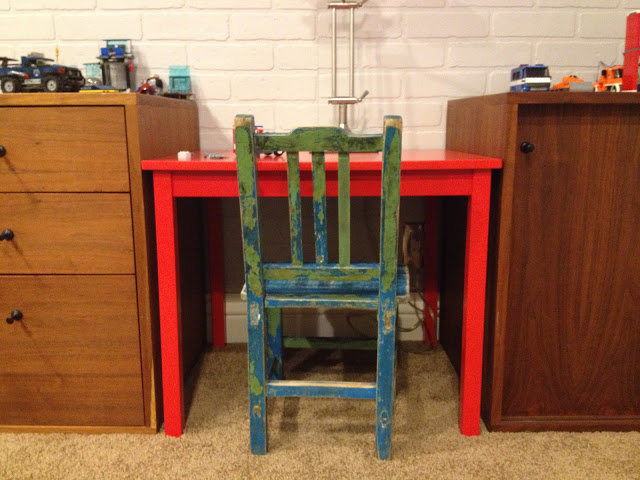
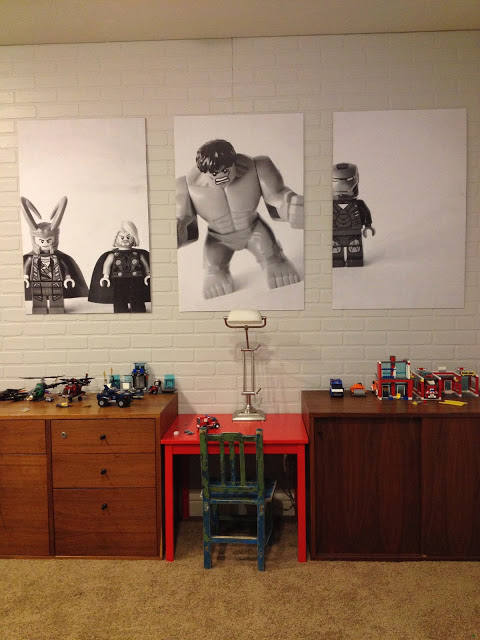
The other day I showed you all the pegboards in the playroom and a peek at the other side of the wall. Well, here’s the full report on the other side. The brown furniture is a family hand-me-down. My dad had it in his dental office when I was little. I broke up the pieces and made a desk in the middle for building Legos. The furniture stores all the Legos (though we don’t have enough to fill it at this point.)
I thought about putting a board across the top to act as a desk, but in the end, I purchased this child’s table from Ikea to use instead. I figure I’ll re-use it even when this setup gets old.
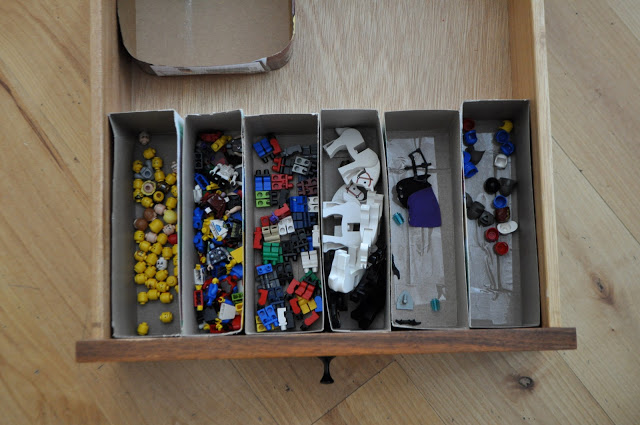
As for sorting the Legos, I’ve seen a billion different systems from tackle boxes to silverware trays, etc.
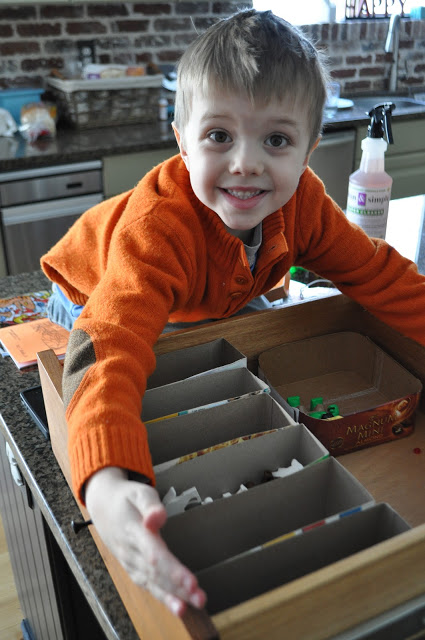
We went cheap and cut off the bottoms of our cereal boxes to make sorting bins. The boys can pull them out when needed as well.
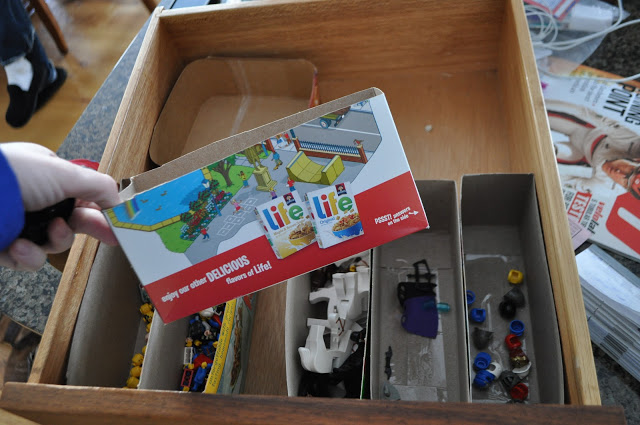
Baden is kind of little for the intense building, but he loves these mini figurine stations separating the heads, bodies, legs, accessories, and hats. Then he can build those as he pleases while Rex is into the more technical building.
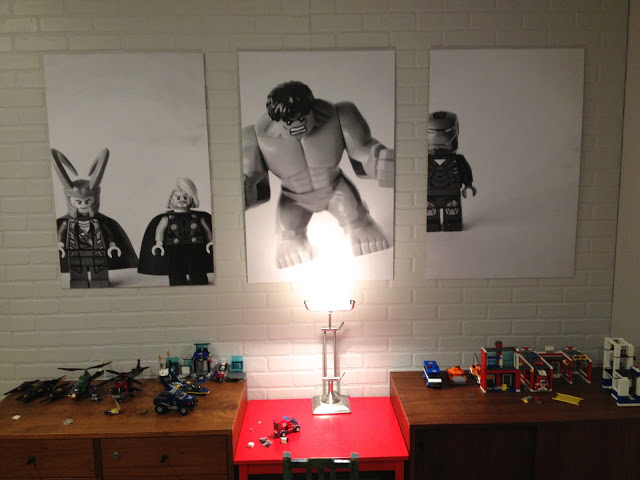
I had an old desktop lamp in storage that I got out for the workspace. He can build there and then the completed pieces can stay on display on the dressers.
I didn’t label the drawers because the boys know what’s in them. One holds instructions, one holds bigger pieces, one holds our imposter Megablocks to keep them separate, etc. I have large plastic ziplocks in another because the rule is that if you want to take one of the big pieces apart, you have to put all the pieces directly into a Ziplock. I hate it when you loose a crucial piece and can’t ever rebuild it right.
For the posters, I took pictures of Rex’s favorite Legos with white cardboard behind them. (For tips on taking photos like this you might want to read THIS POST.) Then I edited them to be black and white, upping the contrast and making some other adjustments.
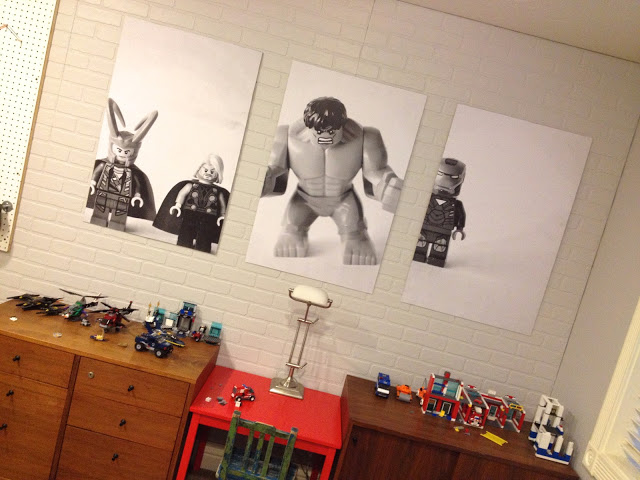
I printed them as engineer prints at Staples for around $3 each. I cut off the slight edge on them and then measured them exactly. Then I went to Home Depot and got the $4 thin MDF sheets that are 2’x4′ and had them cut it to my exact measurements. I attached the posters with spray adhesive. I recommend only spraying the MDF and not the paper itself. It tends to stain the paper a bit when it’s white like this. (To see the full process with additional tips, you can read THIS POST. It’s all the same.) I mounted the posters with those Command mounting strips I love. Done. 3 huge posters for around $20.
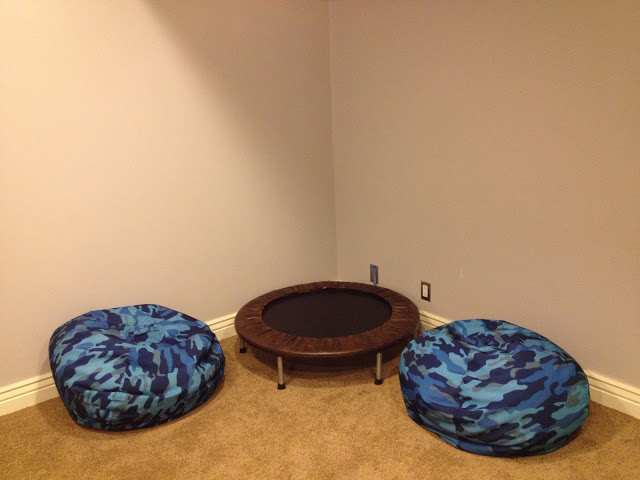
There’s a little more to do in the room, but no rush. I’m trying to decide what to do on the walls here in the opposite corner. There are 2 little beanbags and a mini trampoline my sister and I found at a thrift store for $10 a long time ago. Any ideas? I’ve thought about doing giant words in vinyl, but I’m not set on anything. I’d love to hear your input.
And that’s where we’re at now. The boys are spending more time down there and loving it, which makes me happy.