I think the thing I like the most about the Silhouette company is how innovative they are. Silhouette is a cutting machine, but their product line is so big now that it amazes me. The newest addition? It makes STAMPS! No joke.
So first off, here are a few things I made to test the stamp-making out.
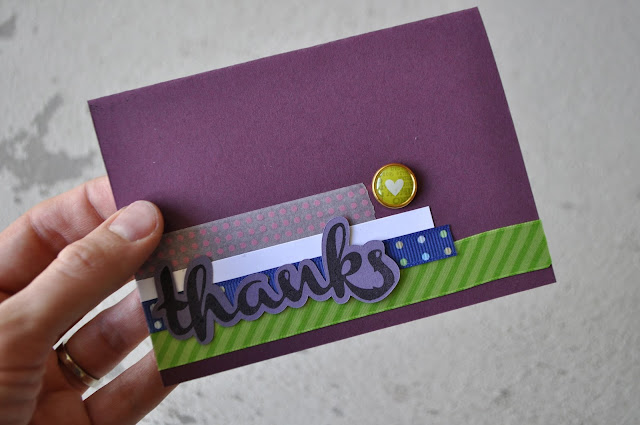
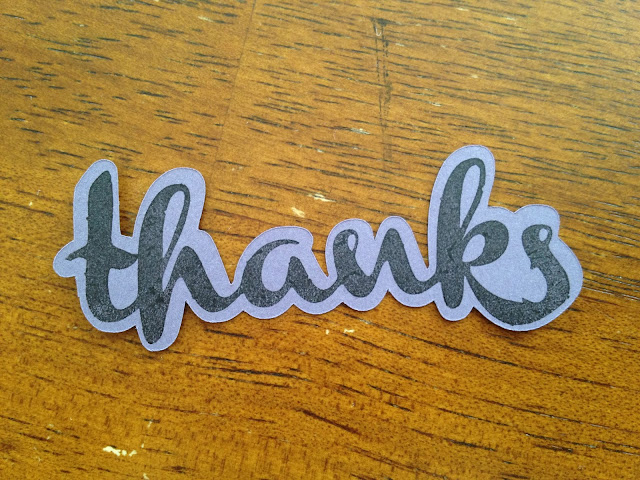
I made a thank you card. It’s great to have a “thank you” stamp for those times when you need a quick card for someone.
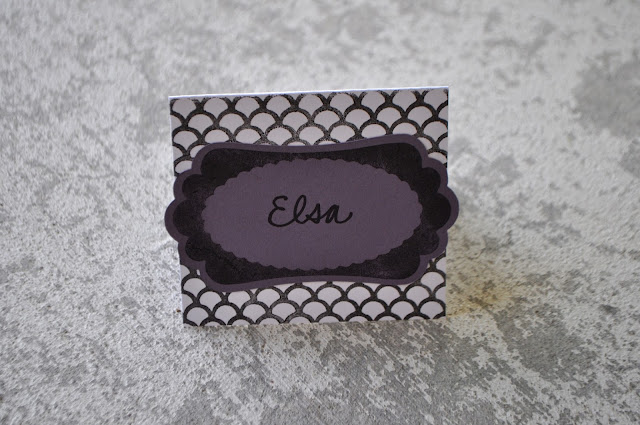
I thought it would be fun to use the stamps to make place cards for a dinner.
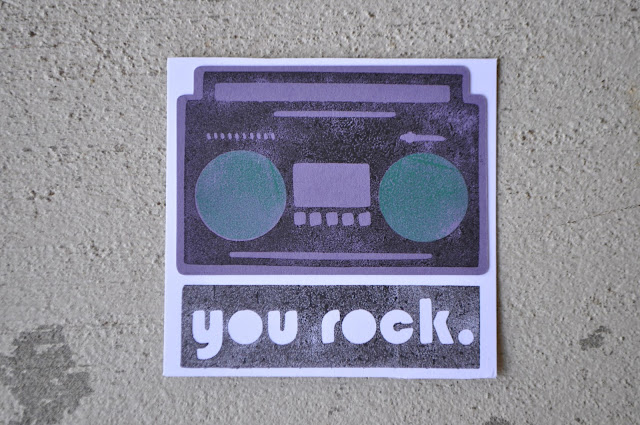
I also thought it would be fun to make little notecards to have on hand.
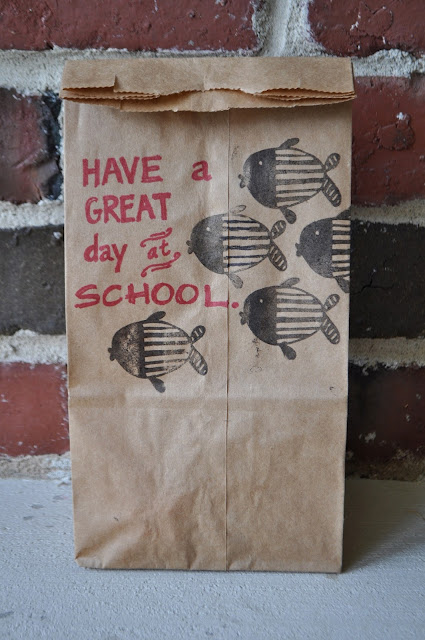
And I made a fish stamp and decorated a lunch bag with it. School. Get it? Oh good. Glad I didn’t have to explain that 🙂
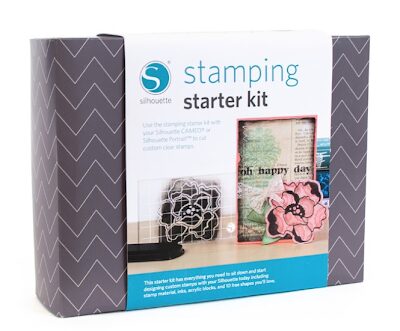
So here’s how it all works. You buy the stamping kit.
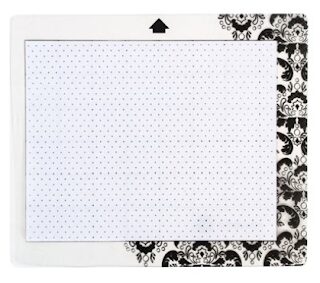
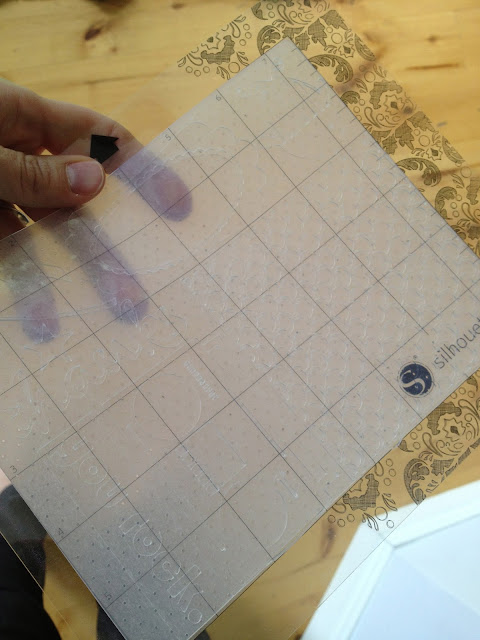
There’s a special cutting mat that comes in the pack. You can’t use the normal cutting mat. It’s smaller and works on the Cameo or the Portrait.
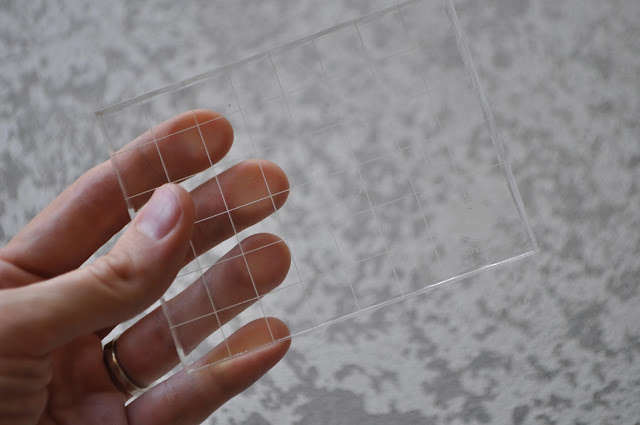
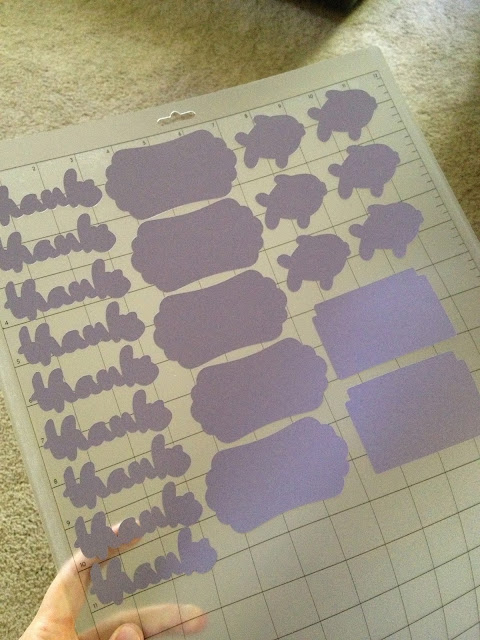
You stick your stamp material to it and then cut it out just like you would with any other media.
Then those shapes adhere to the acrylic blocks. (You’ve probably seen those kinds of stamps in craft stores before. You use the same block for all your stamps.)
So I thought I’d really take this baby for a test drive. I loaded my stamp material into the machine and placed a ton of designs in the cutting area, to make use of all the space.
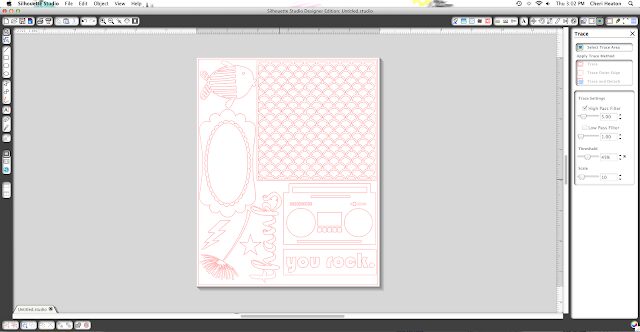
So the machine cut all of those shapes perfectly. It was pretty amazing. They recommend not cutting things that are super detailed and I would say that’s not because the machine won’t cut it, but rather because it’s hard to weed it and hard to apply it to the acrylic block well enough to stamp it.
That upside-down flower in the left bottom corner of the mat was cut perfectly but it’s too hard to get it to lay right on the block to use it because there are lots of tiny lines on it. You see the stamping material is kind of stretchy and clingy so it makes it tricky for super detailed images.
You can also make use of the “offset” menu to have the Silhouette cut paper the perfect size for your stamps. (Watch the video I linked above for a good how-to for that.)
Here’s one tip for mounting your stamp to the block though. Place your stamp on the cutouts so that it fits them perfectly.

Then, place the block over your stamp to get it to stick to the block.
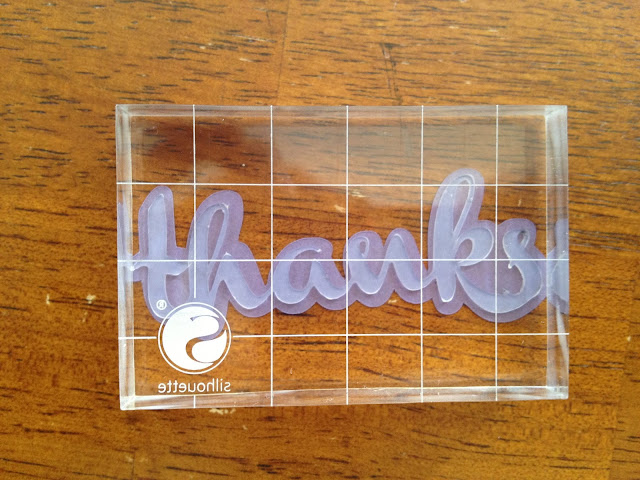
Then use the stamp as normal. (Ink it up and stamp it.) As I said, the stamping material can stretch a little and you want to make sure your stamp fits those shapes you cut.
So there’s the rundown. It’s really cool stuff and buying more stamping material is quite inexpensive. It’s a whole lot cheaper than buying stamps, plus you can create exactly what you want. Remember how easy it is to use any image you find online? Or the Silhouette store is full of awesome designs, too.