I’ve had a lot of photography-related questions roll in lately, so I wanted to do a few posts about taking pictures. If you’re already a pro, then you have the next couple of days off. If you’re interested in taking better photos, then I think you’ll like the next few days. Here we go! The first part of today’s lesson comes directly from a reader’s question: …the reason I am contacting you is for tips on how you took the toy photos for labeling your son’s toy bins.
I think that using some of them as the artwork is an awesome idea, but I don’t know how you got such great photos of the legos and other toys. Can you please give me some advice for doing this? Did you set them up in a box or something so that there aren’t any distracting background images? Any tips you can give me would be greatly appreciated.
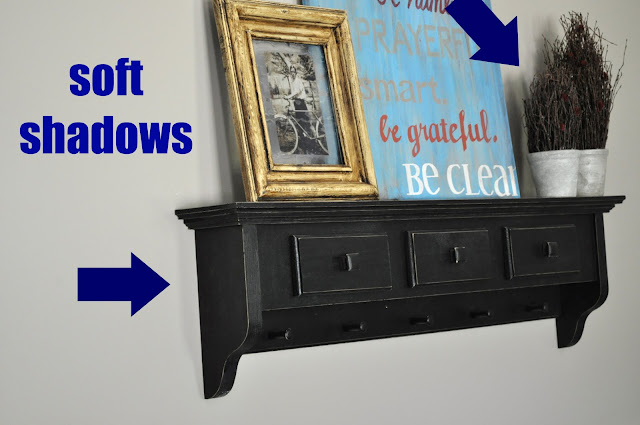
Thanks! First of all, let’s talk a little about lighting. I only use natural light. No flash. I look for a spot in my house that is bright, preferably with indirect light. Let me show you what I mean. Here’s a room that is bright right now. See how the shadows are softer? They are fuzzier? That’s a great time and spot for photos.
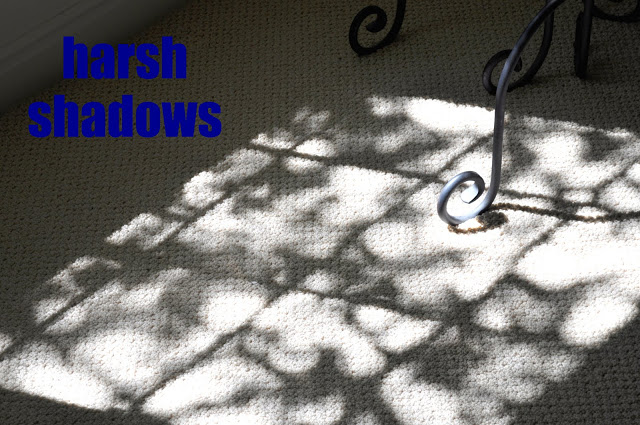
You want to avoid places or times where the shadow appears to be harsh and the sunlight is direct like this.
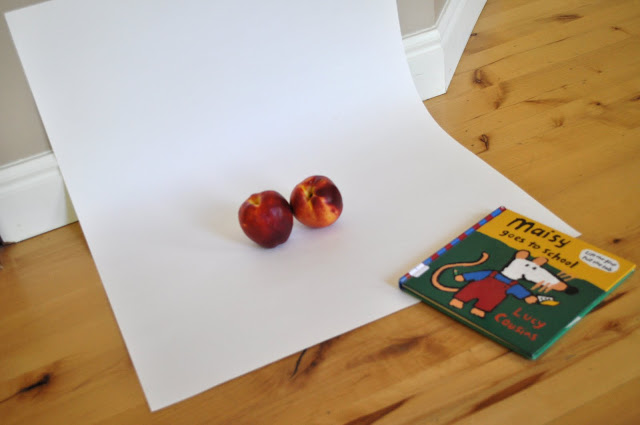
If you don’t have a lot of windows in your house, you can open the garage and sit at the edge, where you’re still in the shadow, but it’s still bright as well. Okay, so now you’ve found a bright spot to photograph. We want to block out distractions. Grab a piece of tagboard like this.

You’ll notice that if you put your tagboard on the ground like this and your object on top, you have kind of a limited view. You can only photograph the top of the object like this.

Or you might end up not getting only tagboard as your background if you shoot the side of the object.

That’s why you’ll want to lay your tagboard against a wall as shown. The book is holding it there.
Now you can get down and get a great shot of your object. Problem solved.
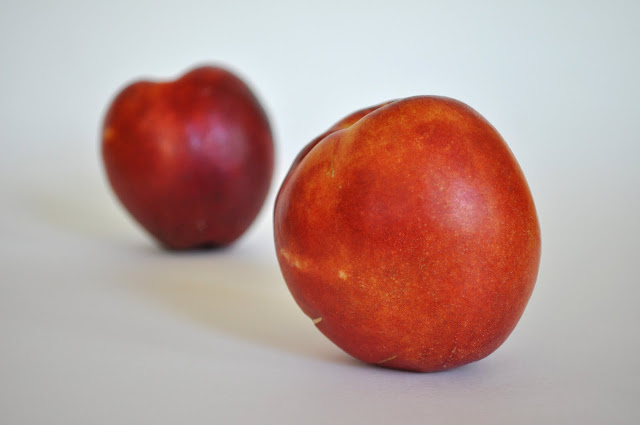
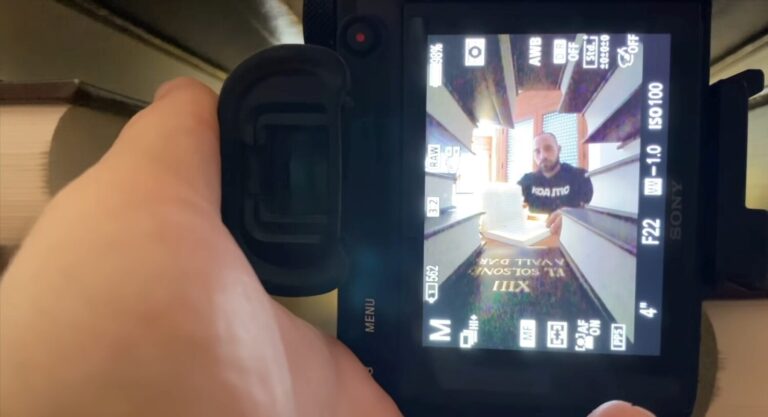
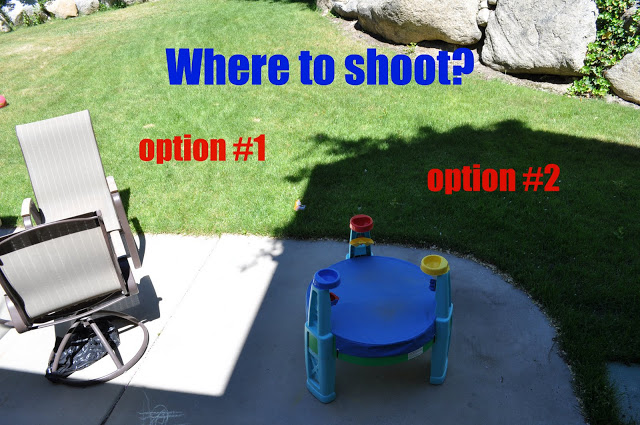
We’re not done yet. Don’t go anywhere. Now let’s apply all of this to take pictures of people outside. (You can only handle so many pictures of nectarines, you know.) Enter Rex, sporting his wife-beater around the house. You walk outside to take a picture of him and this is what you see. Where should you shoot?
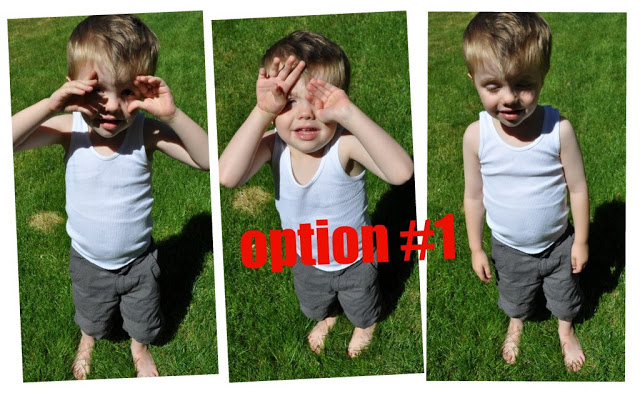
Well, let’s try it out. Here are some totally unedited photos taken in each spot. Option #1: While you want your photo to be bright, you don’t want harsh shadows. Obviously, this is unavoidable at times…you’re at Disneyland and she wants her picture taken on the princess ride, blah, blah, blah. But, if you are trying to get a great picture for a purpose then avoid the noonday sun like the plague. Let’s see our other option.
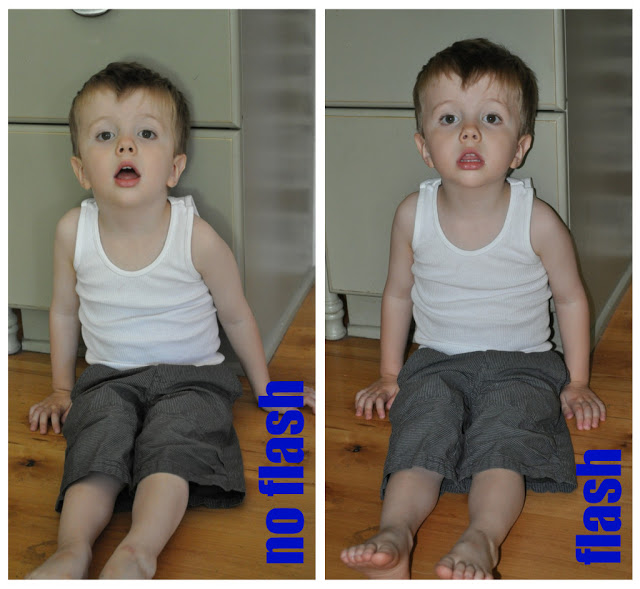
Here is our picture in the shade. No harsh shadows on his face and the camera will compensate for the fact that it’s a little bit darker. It will expose the photo well. (Plus, he isn’t squinty-eyed from staring at the sun. He’s just squinty-eyed because he’s sporting his cheesy grin.)

Okay, last plug for natural light here. I took these two photos at the same place and time. The only difference is that I used the flash on one and not on the other. See how the flash creates all those dramatic shadows? (Now I realize that you have a bit of an advantage here if your camera is nicer. You can take a picture in a dimmer area and still get a pretty good, clear shot.) This is the look he gives me when I ask him to look at the camera. The mouth is always dropped wide open. Very cute and natural, right?
I love talking and learning about photography. I got my first DSLR when Rex turned 1 and I tried to learn everything I could about it. I still have lots to learn, but if you have any photography-related questions, let me know and we’ll lay it all down this week. Okay? Tomorrow we’re going on a picnic. I’m going to show you some tips on using this free software to improve your photos. I love the ease of this program, plus you don’t have to feel left out because you don’t have Photoshop. See you tomorrow. Thanks for stopping by.
For more tips and tricks visit iammommahearmeroar.net.