First off, thank you SO much for your kind comments and support on Sunday’s post. I think I have the sweetest readers in the world. Thank you. On to today’s post. The master bedroom is actually finished, but it’s not quite time for the reveal.
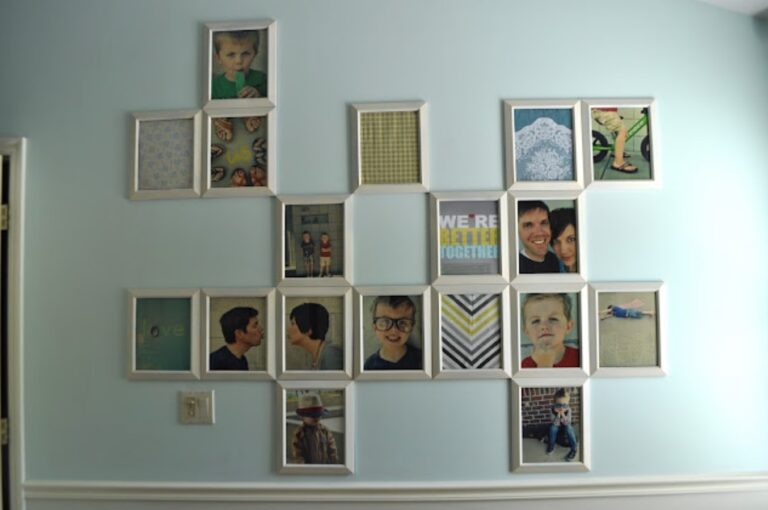
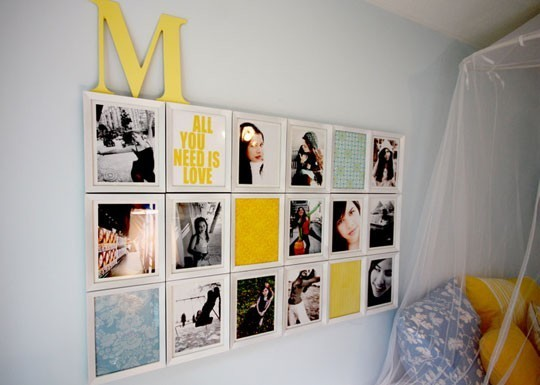
However, I wanted to share one wall I did a photo collage on that I’m really excited about. Take a look at more photo collage ideas. On my husband’s side of the bed, there was a big empty wall and I couldn’t decide what to put on it. I love art, but I always end up loving photos on the wall more than anything. So, I pinned this picture below and took some inspiration from it.
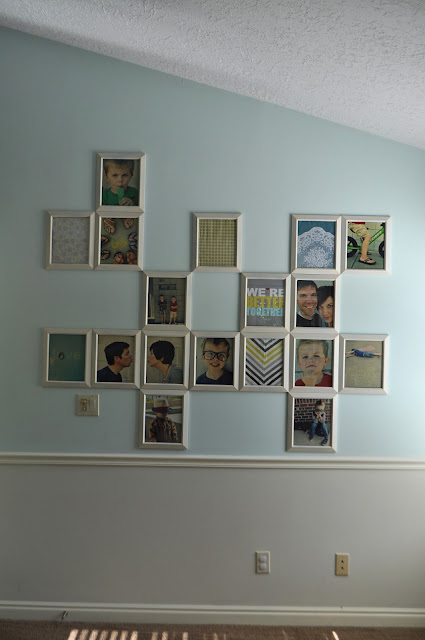
In the end, I decided to hang the photos in a really unique way, to create interest.

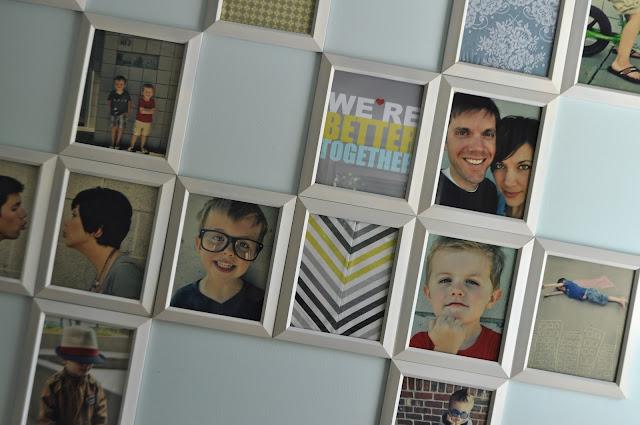
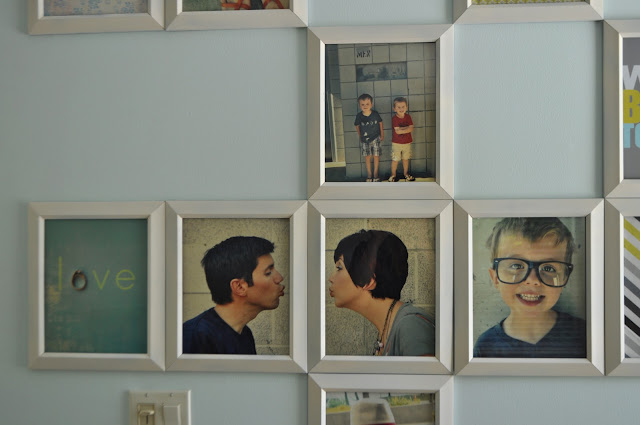
I took some shots of all of us and I cross processed all the photos at about 30-40% to give them some continuity.
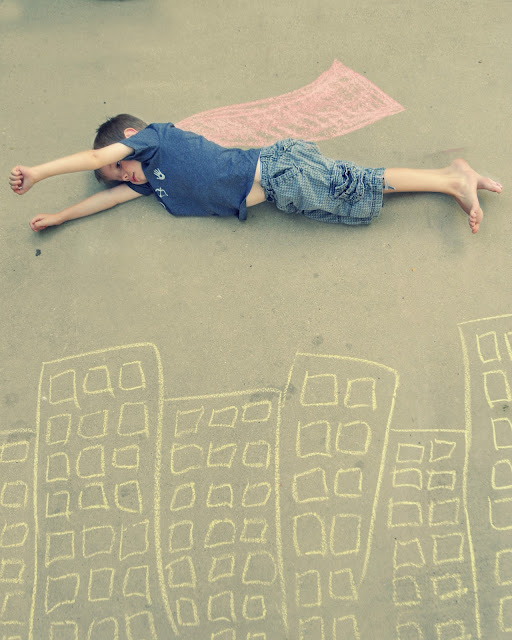
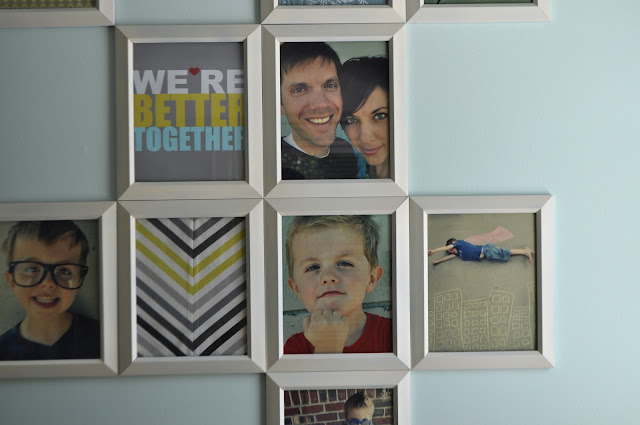
I saw the superhero picture idea on Pinterest and had to use it, since it’s so Rex.
I had to squeeze in a cheesy one of Mr. Roar and I since it’s our bedroom 🙂 I also took a picture of my wedding ring and added the letters to make it say “love.”
I made the “We’re better together” art on picmonkey.
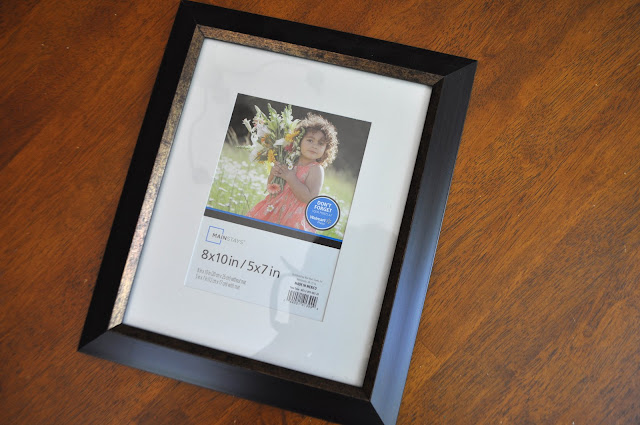
So here’s how I did it. I knew I would have to spend some money to get that many pictures up on the wall, but I tried to save where I could. I purchased the 8×10 frames from Wal-mart for $3 each. I spray-painted them all white.
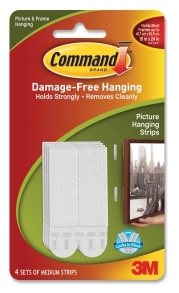
I printed up the photos at Costco ($1.50 for 8x10s). I used fabric scraps for some of the frames as well. To be able to hang them exactly how I wanted to AND be able to change the photos out, there was really only one option. I used the Command Strips for picture hanging.
They are pricier than using nails, but they are crazy easy to use and I can remove them when I’m done without leaving holes everywhere. I felt they were worth the cost. They have a sticky side and a side that’s almost like velcro. You put one strip on the wall and one on the frame. Then they click together. I used two sets on each frame.
I love that I can change out the pictures easily when I want to.
And there you have it.
I can’t wait to show you the rest of the room, but it’ll be a couple of weeks. Thanks for dropping in. See you tomorrow.