Today I have a super simple sewing project – the 15 minute diaper clutch. I’m not super fast with sewing, but this baby takes almost no time at all. It’s also a pretty easy project – even if you’re a beginner. While I’m calling it a diaper clutch, it could easily be used as a regular clutch as well.
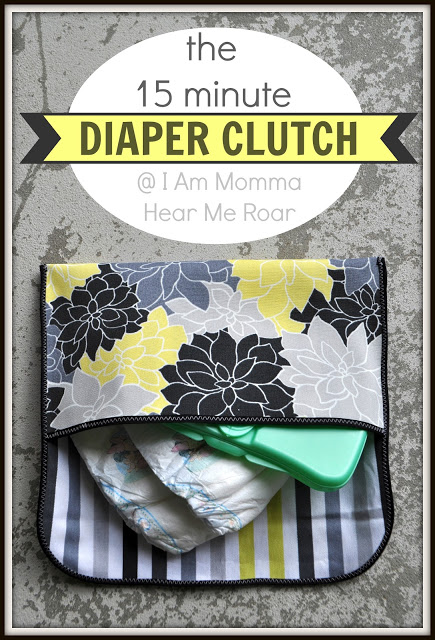
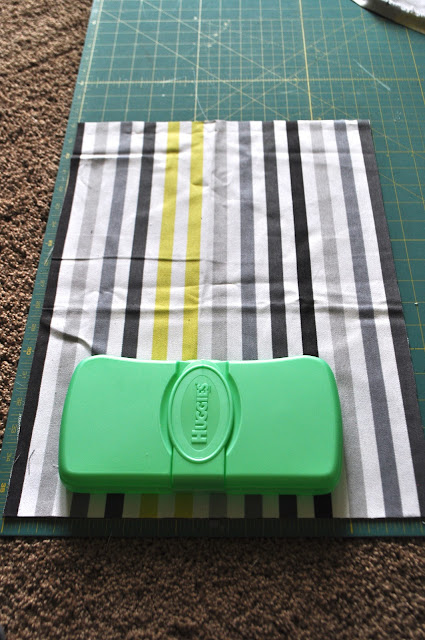
I knew I wanted this case to be fairly large. It needs to fit my wipes and I like it holds 3 larger-sized diapers as well.
I laid out my fabrics together with the patterns on the outside as shown.
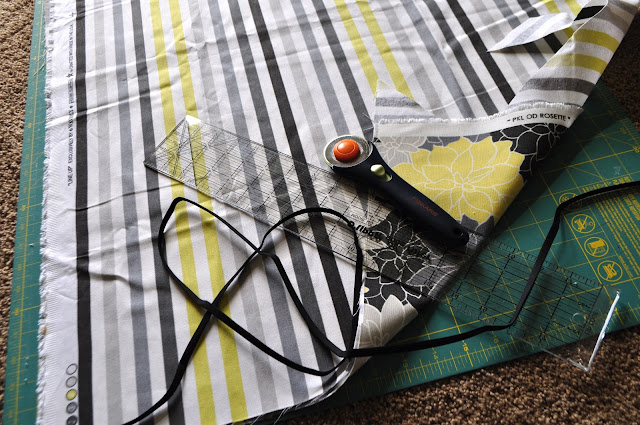
I used my wipes case to gauge the size a bit. I knew it needed to be larger so it could accommodate 3 diapers as well the wipes case. Then I also figured out how long it needed to be enclosed and have a flap. My final dimensions were 12.5″ wide and 18″ long. You could make it smaller or larger, but I am happy with this size.
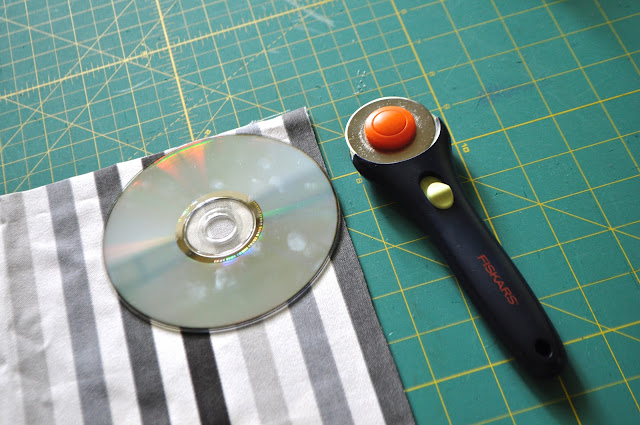
I used a DVD to help me round the corners at the top.
The first thing you’ll sew is your bias tape across the bottom, as I’m holding it. I used a crazy thin bias tape, which does make the project a little bit trickier. The normal size would make it a little easier. I sew it on the easy way, by just folding it over my fabric and sewing right down the line.
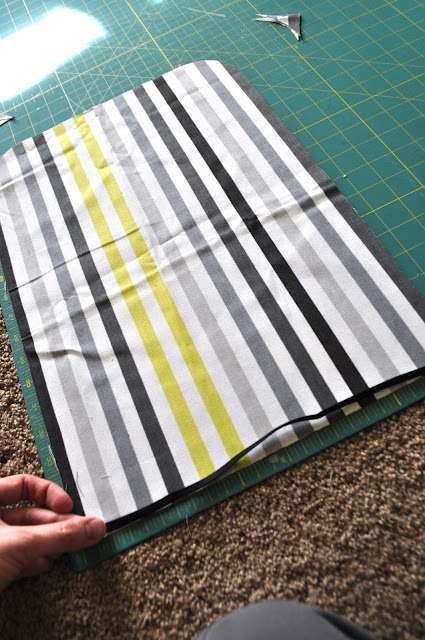
This time I used a zigzag stitch in a contrasting color for fun. A zigzag stitch can also be a really easy way to sew the bias tape on successfully because you’re going to secure it well without worrying if you’re running off the edge a little.

After sewing the edge, you can fold the clutch to your desired size, pin the sides, and then sew the bias tape around the rest of the clutch (except not across the bottom).
I usually add velcro later because I like to see how the flap will meet up once I’ve stuffed the clutch with what it’ll actually hold. Then I’ll sew on a decorative button over the stitching of the velcro on the front flap.

This time I waited because I ordered labels that should be coming in the mail any day now and they’ll look like this. I’ve been checking my mailbox much more often than normal.
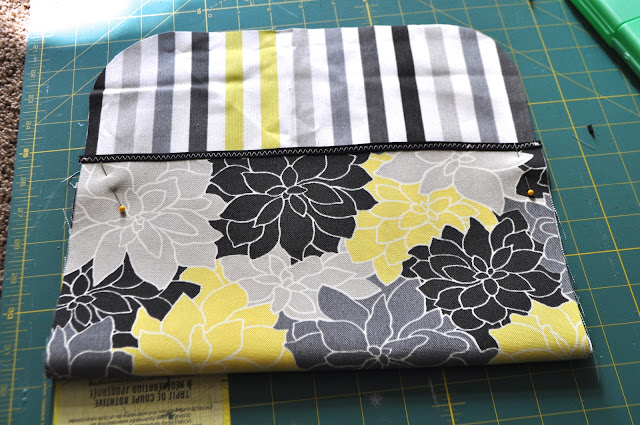
The floral fabric was leftover from my bathmats. Since it’s thicker I skipped using interfacing. However, if I were making a regular clutch that I wanted to be firmer I would definitely use some. Just sandwich it between the two layers of fabric and you’re set.
Now wasn’t that easy? It’s also a great way to use up scrap fabric.
Take a look at this awesome easy DIY diaper clutch:
Thanks for stopping by for a visit.