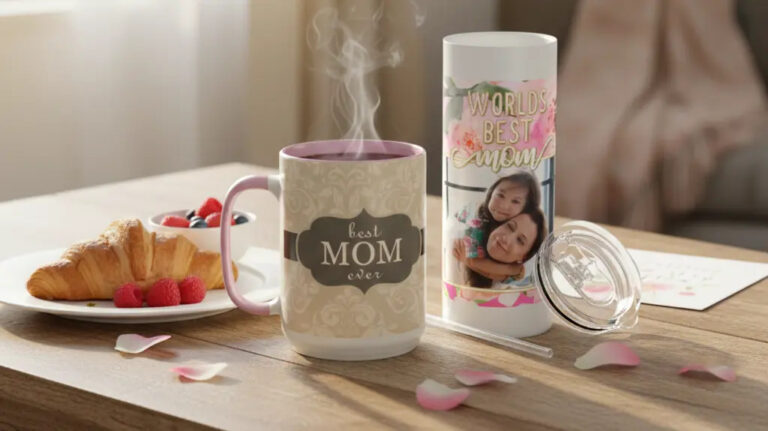
Personalized Mother’s Day gifts work best when they feel specific to her actual life, not just pretty in the checkout photo.
The goal is simple: choose something that connects to her children, her routines, her memories, or the small family details she already cares about.
Before buying, think about what she uses, what she displays, and what she quietly saves.
1. A custom artwork gift made from a family photo
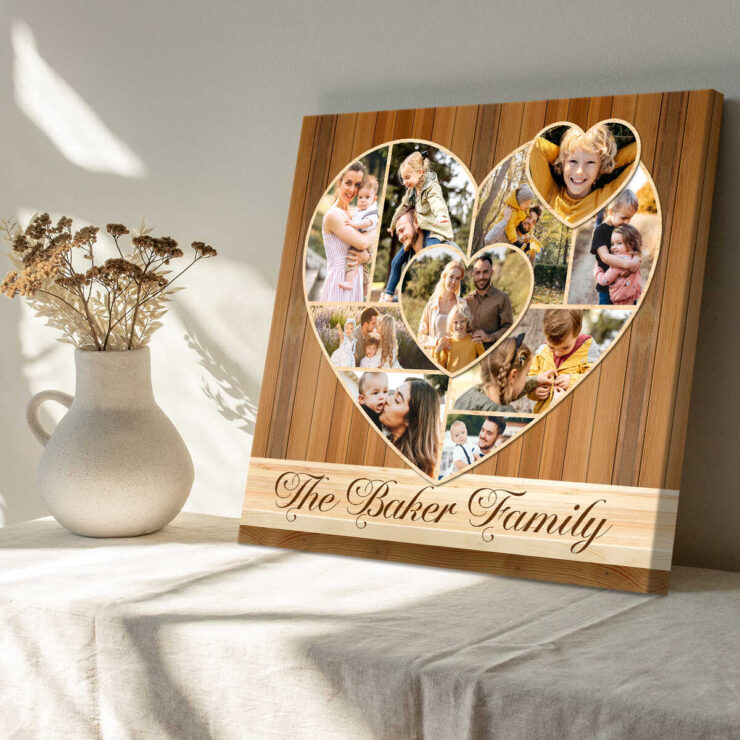
A personalized art gift is a smart choice when you want something the kids can be part of, but you also want the final result to look polished enough for the home. A favorite family photo, a picture of Mom with the children, or a sweet family picture can be turned into wall art, a canvas, or a creative activity.
This is especially useful for families with younger kids, because they can help with the gift instead of just watching an adult order it. Choose a clear photo with good lighting and avoid very busy backgrounds.
If your mom enjoys quiet activities, one lovely option is custom paint by numbers provided by the passionate people from Davincified.
2. Handwriting engraved jewelry
Handwriting jewelry is one of those personalized Mother’s Day gift ideas that can feel very personal without taking up space. A short note from a child, a name, initials, or even a tiny “love you” can be engraved onto a necklace, bracelet, or charm.
My honest advice? Keep it short. Long messages can look crowded, and a child’s handwriting already has enough character without asking it to carry a full paragraph.
Check the metal type before ordering, especially if she has sensitive skin. Sterling silver, gold vermeil, and solid gold all sit at different price points. Also, look closely at preview images.
If the seller does not show a proof before engraving, I would pause before buying.
3. A framed keepsake of children’s art
Children’s drawings are personal, funny, and usually more honest than anything adults try to design. The trick is turning that drawing into something that your mom can keep without adding another loose paper to the fridge.
You can frame the original, scan it and print it on quality paper, or have it turned into a foil print, embroidered piece, or small canvas.
A few details make this gift better:
- Add the child’s name and age on the back.
- Keep the frame simple so the art stays the focus.
- Choose one strong drawing instead of trying to include everything.
This works well for moms, grandmothers, and stepmoms, especially when the child adds a short handwritten message.
4. A personalized family recipe board
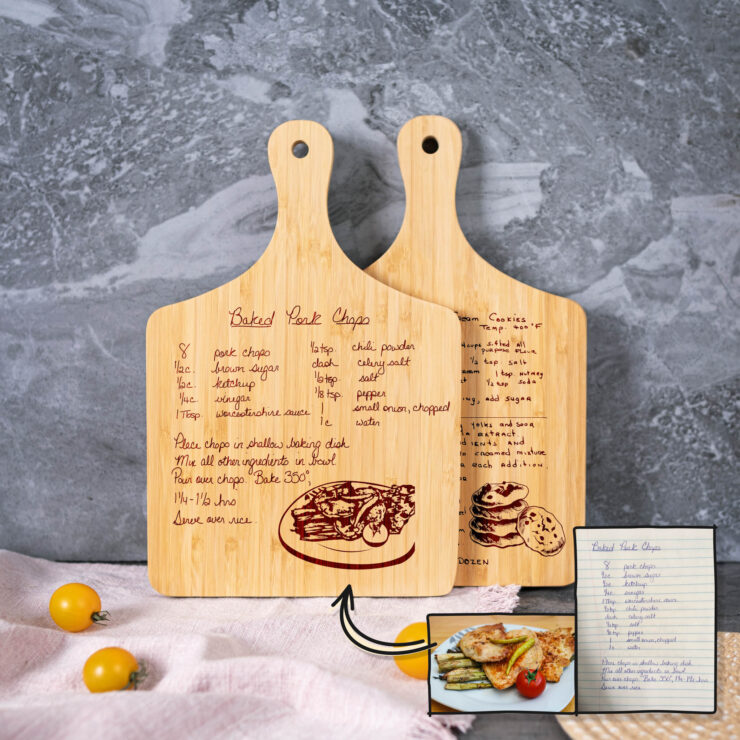
A recipe board is perfect for a mom who likes to cook, but it should not feel like you are giving her another kitchen task.
The best version uses a recipe that already means something: her mother’s cake, a Sunday lunch dish, pancakes the kids ask for every weekend, or a handwritten recipe card that has been used for years.
| Detail to personalize | Why it matters |
| Handwritten recipe | Keeps the original family connection |
| Family name | Makes it feel made for her home |
| Date or short note | Adds context without crowding the board |
After ordering, check whether the board is decorative or food-safe. Some engraved boards are better for display than cutting.
5. A guided story journal for Mom
A guided story journal is a good personalized gift for Mother’s Day when you want something meaningful but not overly decorative. These journals usually include questions about childhood, family traditions, lessons learned, favorite memories, and moments she wants her children to know about. It is a thoughtful pick for a mom who likes writing, reflecting, or saving family stories.
Important note: A story journal becomes more personal when you write the first page, add a photo, or place a small note inside before giving it.
Do not choose the longest journal just because it looks impressive. Too many questions can feel like homework. A well-organized, gentle journal is more likely to be finished.
6. A photo blanket or custom pillow
Photo gifts can go wrong when they are too busy, so be selective. A photo blanket or pillow works best with a small group of clear images rather than every picture from the past year.
Think about where she might actually use it. Would it suit the sofa, her reading chair, or the kids’ room where everyone ends up anyway?
For a cleaner result, choose photos with similar lighting or colors. If the design tool offers ten layouts, do not automatically pick the one with the most boxes.
More photos do not always make the gift better. A custom photo blanket is strongest when it feels warm, useful, and easy to live with.
7. Personalized stationery or a name-printed note set
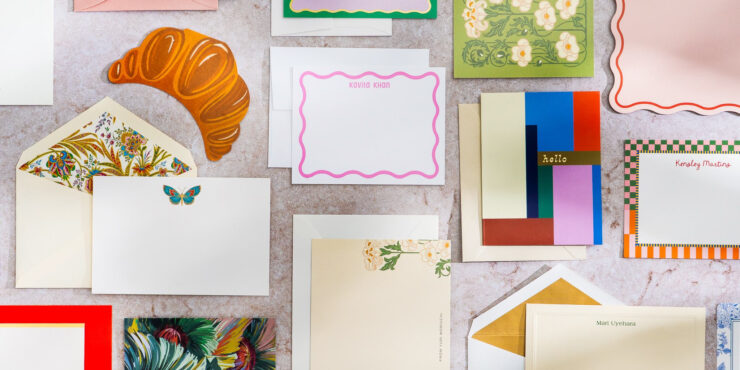
Stationery may sound old-fashioned until you know a mom who still writes thank-you notes, labels school gifts, sends birthday cards, or keeps a family command center from falling apart. Personalized note cards, address labels, a planner, or a name-printed notepad can be surprisingly useful.
This gift is best for someone who likes order, paper, lists, or small daily rituals. Choose a design that matches her actual taste, not what looks most “Mother’s Day” online.
Florals are fine if she likes them, but simple initials or a clean family name can feel more grown-up. Add a nice pen if you want the gift to feel complete.
How to choose the right personalized Mother’s Day gift
The safest personalized gifts are the ones that match her real habits. Jewelry is lovely if she wears jewelry. A recipe board makes sense if food is part of family memory. A journal works if she likes words. A photo blanket works if she enjoys cozy, useful things.
Before ordering, check three things:
- Spelling of every name and date.
- Delivery time for custom production.
- Return rules, since personalized items are often final sale.
Also, ask yourself one simple question: will she use it, display it, or save it? If the answer is yes, you are probably on the right track.
Final perspective
Personalized Mother’s Day gifts do not need to be expensive to feel thoughtful. The best ones show that you noticed something real about her.
A child’s handwriting, a family recipe, a photo she loves, or a story she has told ten times can become a gift that feels personal without being overdone.
Choose carefully, check the details, and give yourself enough time for custom work.