Today we’re going to play with the Silhouette adhesive cardstock and regular vinyl. Today’s projects are decorative gift wrapping and these pantry labels.
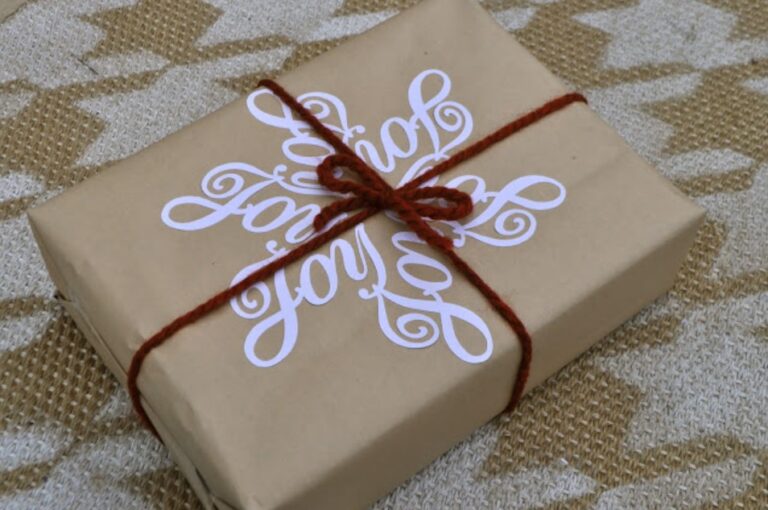
I used Silhouette’s adhesive cardstock for the decorative gift wrapping.
Check out this post about this DIY Silhouette Advent Calendar.
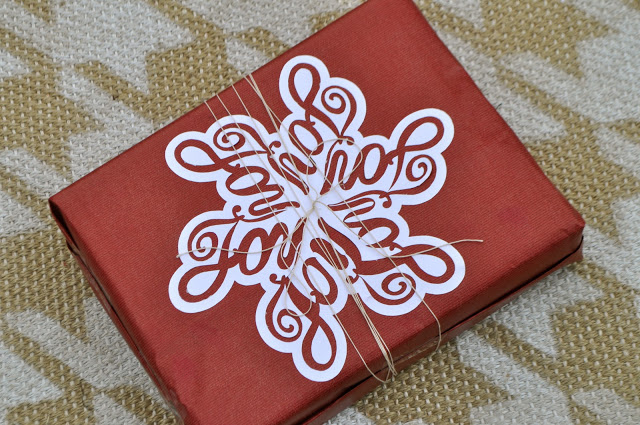
The adhesive card stock is really fun. It would be great to have on hand if you were decorating a bulletin board or doing any scrapbooking. Today I am using it to dress up presents. I carefully used the negative space for another package as well.
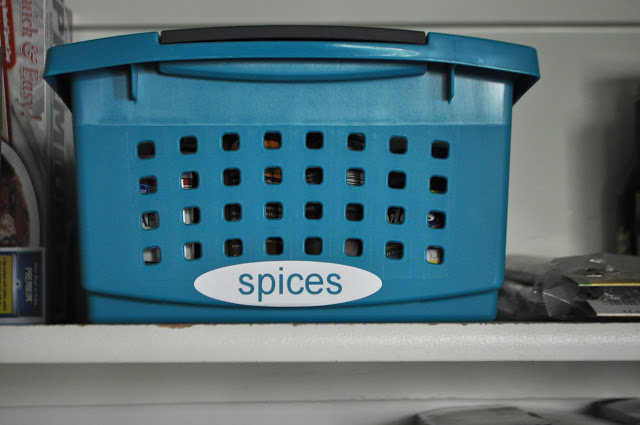
Next up are the labels. Labels are one of my favorite things to make with my Silhouette. Here’s an easy way to make them all the same size and get them cut quickly. This tutorial includes a demonstration of how to use transfer tape. (Remember that you can click on YouTube below and then watch the videos bigger there.)
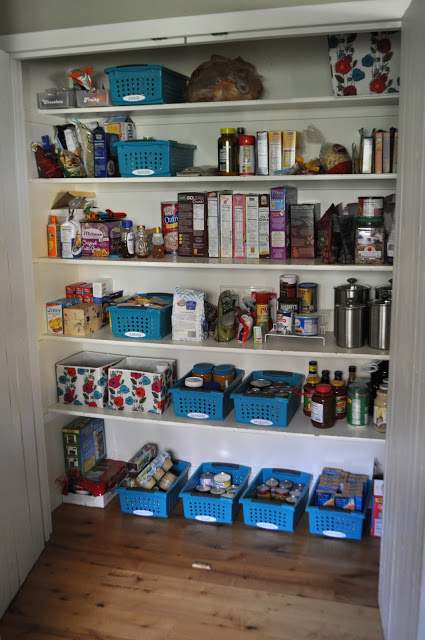
And just because everyone loves a before and after. Here was my pantry before I organized it and made labels. It was cluttered and chaotic.

And here’s what it looks like now. Ah! The bins were less than $3 and the labels make it so that my husband knows where to find things as well.
Alright! Tomorrow we have a little more Silhouette fun. I hope you’ve been enjoying this little series. Thanks for reading.