Badges are practical little things, helping to identify names which makes them fantastic for children in the setting of a school or nursery. They can be especially handy when going on outside nursery trips too, making it easy for members of staff to identify children quickly and efficiently too. However, name badges for kids needn’t be boring! There are so many funky designs out there to choose from, so why not add a little fun to this type of identifying accessory?
We’ve gathered together the best school id badges for kids that we could find. From super cool emoji themed badges to animal friends, there are plenty of designs to choose from. Before we reveal our top picks that are sure to inspire you, here are some considerations to keep in mind.
Considerations Choosing Badges for Kids
Budget – How much money do you have to assign to buying your new fun badges for kids. Whether you have a low-end budget or a higher budget, there are so many funky designs to choose from. You can add a sprinkling of fun personality with this product easily!
Age of children – Depending on the age of the children that you’re buying school id badges for, you may find some designs to be inappropriate. If you’re buying badges for younger children there are tons of fun character-themed options, however, for older children, you may want to choose a more teenager friendly design that’s trendy.
Materials used – Name badges for children are generally safe to use, though if you’re giving them to younger children you may want to avoid designs that contain metal components. Metal on badges can cause accidents, especially amongst smaller hands when they are clipped on! It’s best to go for a rubber option that is softer to hold and easier to clip should the child need to do this themselves.
Best Kids ID Badges in 2024
Here are our top picks when it comes to kids badges in 2024, we’ve also included some options for fun badges for kids to make themselves too! You’ll be sure to find a suitable option below and on badgesmart.com, no matter the age of the children that you’re buying for.
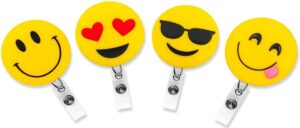
1. Fun Emoji Identity Badges
This fab set of cool emoji retractable ID badge holders is certainly going to bring a smile to any child’s face. Perfect for older children and teens, each holder comes with a 360-degree clip for easy clipping. The metal reels on each clip allow for you to put them on quickly and take them off with ease too without damaging clothing. The eye-catching design is a bright and fun way to brighten up any uniform and hold an ID tag securely. These are one of our favorite badge designs and they can be a great idea for birthday badges for kids too.

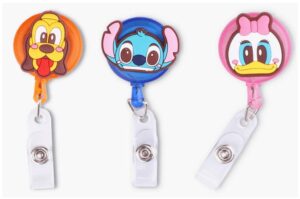
2. Character ID Badge Designs
Suitable for younger children including nursery ages, these adorable cartoon character badges are fantastic for identifying purposes. Made of durable plastic, nylon, and stainless steel, they add a fun splash of color while serving a practical purpose. With a retractable cord and easy to use a clip, these are great all-round badges and make fantastic school id badges for kids too.
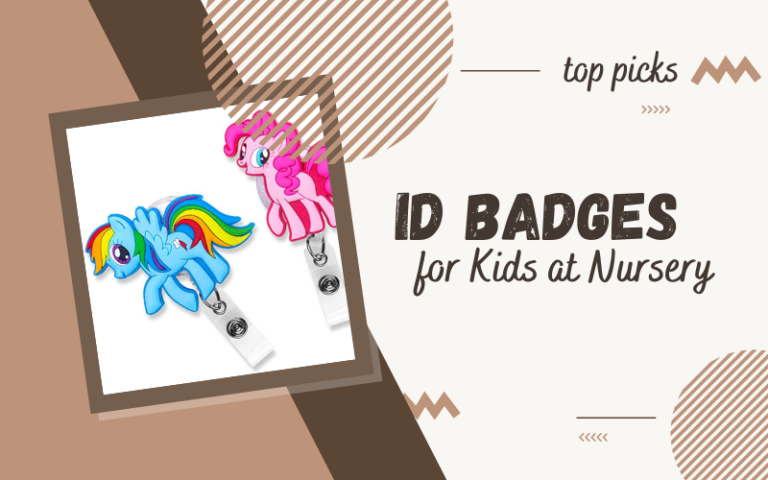
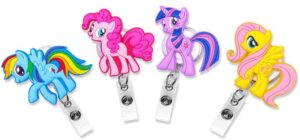
3. My Little Pony ID Tags
For any My Little Pony fans, these adorable badges are sure to bring about plenty of smiles. The 4 piece character set comes as individual designs, each with its own funky color scheme. These badges are easy to use and are one to the best quality name badges for kids out there. With a 360-degree clip, they can be clipped on simply and taken off, they also come with a big reel making them scannable even from a distance. With rounded edges on the metal clip, you won’t have to worry about safety or practicality in little hands either.
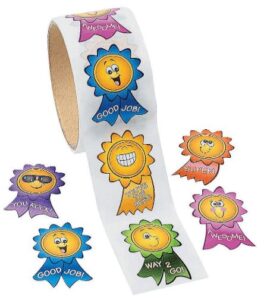
4. Motivational Stickers
These awesome motivational stickers have fun smiley faces on each and are a great way to encourage little ones into completing their school work. If you’re looking for an alternative to a traditional name tag, this could be a perfect option for nursery aged children. Whether in school or out on a trip for the day, these nifty colorful stickers are sure to come in handy with their individual quotes for encouragement.
5. Hello Kitty Badges
Hello Kitty is a favorite character amongst little girls and boys. With this sweet pink-colored badge tag, children can be easily identified with minimal fuss. The retractable reel makes this badge design highly practical and simple to use while the snap strap ensures secure fastening to clothes. A metal clip is used with is both durable and safe for little hands too.

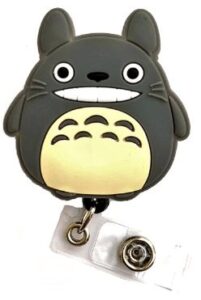
6. Ghibli My Neighbour Totoro ID Tag
How about these wonderful Ghibli Totoro badges? We absolutely love the fun character design which is suitable for children of all ages, both teenagers and nursey kids. The swivel alligator clip ensures safe fastening while a retractable cord extends for easy scanning or swiping where it may be needed. The badge reels are a great idea for adding a little bit of playful fun to identifying names and are made of high-quality and durable materials offering great value for money. This design makes great diy badges for kids too, who wish to get creative and perhaps make a paper or card version.
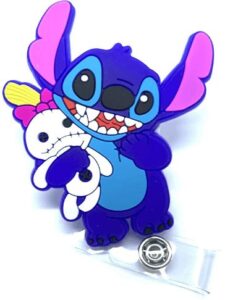
7. Lilo And Stitch Identity Badges
Lilo and Stitch are one of the best-loved Disney movies and now the children in your care can wear their favorite character for identity purposes too. These retractable ID badges are practical for kids with a cord that extends up to 24 inches. The badge reels are sure to add a bit of fun to the identifying process allowing safety and practicality at the same time.
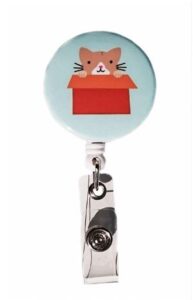
8. Cat In A Box Cartoon ID Holder
This adorable cat in a box ID holder is a purrfect way to easily locate the names of children in your care. The cartoon character can be seen just peeking over the top of a red box and comes with a retractable reel for easy snapping on and off. With a retractable 24-inch cord, this badge holder is practical and cute at the same time!
9. Punny Reward Stickers
These stickers are so much pun and a cool way to reward children at the same time. Each comes with a colorful, quirky design that are great for older children and teenagers alike. You’ll love each design that is sure to bring a smile and a laugh when handed out.

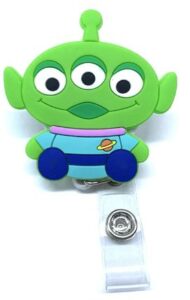
10. Toy Story Alien Tag
Toy Story is a firm favorite movie amongst many children and now they can adorn their clothing with this super funky badge. The alien character includes a extendable cord for easy scanning and comes with a secure metal clip on the back too. This is an ideal way to add a bit of character and practicality when identifying kids at the same time.
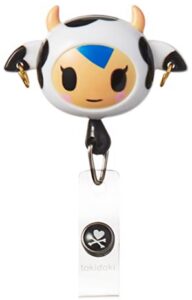
11. Koi Cow Badge
Wow, this badge is totally unique and cute! The Koi Cow design is suitable for both boys and girls and is super fashionable while serving a practical purpose. Kids will love the cord that allows for easy scanning without removing the badge once fixed to clothing. The snap badge holder is easy to fasten on and take off with ease.
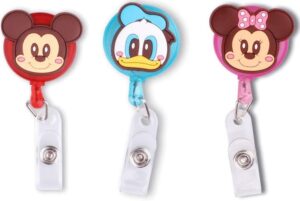
12. Mickey Mouse Cartoon ID Tags
Minnie, Mickey, and Daffy make up this sweet trio of Disney ID tag holders and they look just adorable. As fun badges for kids to make themselves or buy as seen here, these fun characters can offer a helping hand with identifying. The cord feature extends 23 inches while the plastic material used is safe and durable. Available in red, pink, and blue, there’s a design for every child to enjoy!
13. Green Frog 3D ID Holder
How about a cute 3D frog to hold name badges? This super cool frog guy is around to help identify the children in your care. The retractable design is super practical and it extends up to 23 inches thanks to a built-in cord. The bulldog clip allows easy fastening, though a child may require the help of an adult with the robust metal feature!

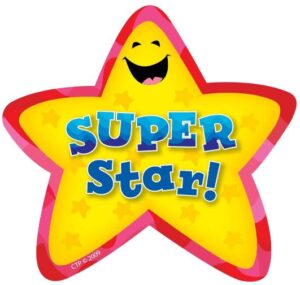
14. Super Star Badge Design
You’re a star! And, so are the children that you’re choosing badges for. These lovely star-shaped stickers come with a lovely motivational message for any child that wears them. You’ll receive 36 stickers, making them a great option for a class full of children on a school trip. These are a great kids standard for award badges too.
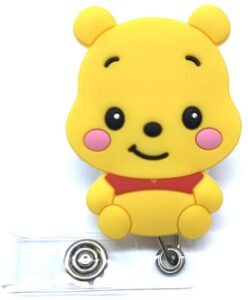
15. Cute Mini Winnie Badge
How adorable is this sweet Winnie Pooh badge? Great for smaller children, the swivel alligator clip is easy to fix onto clothes and the cord adds practicality too. We love the fun yellow character who is on hand to help with identifying names. This is a great option for younger nursery aged children!
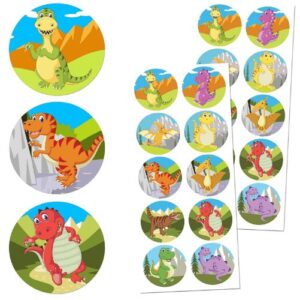
16. Dino Stickers
Again, if you’re seeking diy badges for kids, why not equip them with some cool dino stickers and get creative? Names can be added easily for a fun and cheap name tag badge. Including 20 sheets, this option is great for all ages and offers great value for money as well. There are 10 stickers per sheet, giving you a total of 200 roarsome stickers!
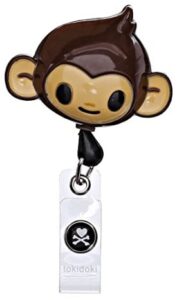
17. Monkey Badge For Kids
This lovely monkey badge is suitable for children of all ages and is both practical and fashionable. The retractable feature makes them super practical as quick and easy name badges for kids. The clip is completely safe to use and requires minimal fuss to attach it to clothing too. We love this fantastic design and are sure the kids you’re buying for will too.
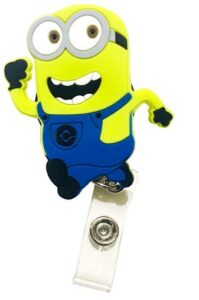
18. Minions ID Holder
Minions are such fun little characters and they make great ID tags too. For children who are fans of the movie, this is the perfect way to identify names. The swivel alligator clip allows for easy practicality alongside a retractable cord. Why not add a fun yellow character to your children’s identity badges today? They’ll enjoy showing the silly character off!
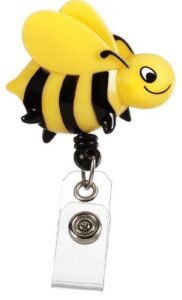
19. Retractable Bee Badge ID
Bzzzzz! This lovely bright bumblebee is going to help you identify children’s names both in the school setting and outside. Equipped with a high-quality metal alligator clip, these badges are simple to use and practical too. The retractable cord extends up to 23 inches for easy scanning where needed while the overall badge itself is lightweight and compact.
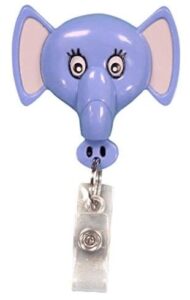
20. Purple Elephant Badge Tag
This fun purple elephant design is going to make identifying names fun and easy process. Holding the badge itself in her trunk, this clip is safe for little hands and made using only safe materials for complete peace of mind. Why not add a friendly purple elephant to your shopping list now?