In the world of parenting, everyone will tell you that breast milk is the best for your baby. And that’s totally true!
Not only does it help in your baby’s development phase, but also very effective against diseases and germs.
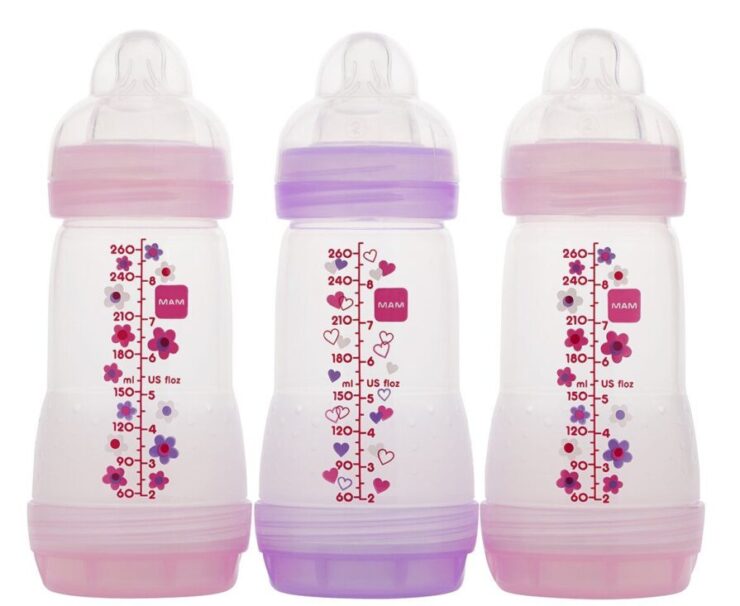
Sometimes though, breastfeeding isn’t always possible. What can you do? Well, you can get yourself a breast pump or a bottle like the MAM Anti-Colic bottle.
Using A Breast Pump or Baby Bottle
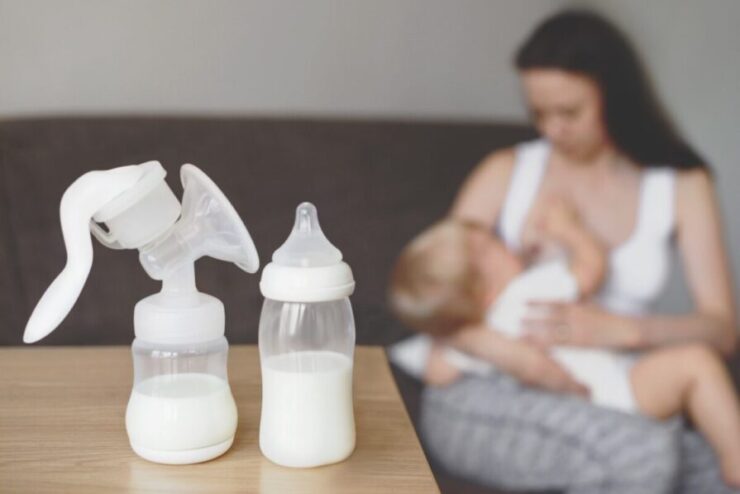
In the case of a breast pump, it’ll help you become much more flexible. You’ll be able to provide the breast milk immediately your baby demands for it.
And you wouldn’t be handicapped from feeding your baby even when you’re busy.
But a baby bottle comes with more options. You can use it alone or with your breast pump. And they are easy to use and great for your baby, especially the anti-colic bottles.
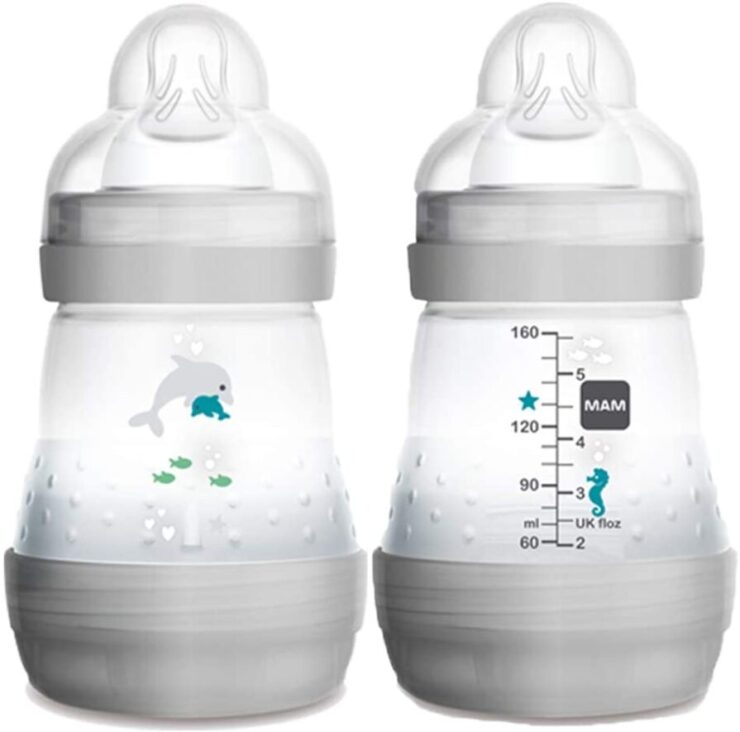
The bottle comes with ventilation holes in the base to help minimize colic by reducing your baby’s intake of air. Most baby bottles are designed this way and are much more suitable for newborn babies.
As a result of this, babies can now feed on bottles with little to no colic experience. This is much easier on the baby as well as the mother passing through the breastfeeding stage.
Most people already have this bottle and are wondering how they can clean the bottle and make it germ-free.
If you are among those looking for a guide on how to sterilize MAM bottles, then you’re on the right page.
In the following paragraphs, you’ll learn how to properly how to sterilize MAM bottles and how to solve the problem of condensation after sterilizing.
General Guideline on Sterilizing MAM Bottles
Before going into details about what you need to do when sterilizing these bottles, here is a rundown. As you’ll soon see, the process is self-explanatory and you don’t need to have a lot of experience to get it done.
In a nutshell, here is what’s involved:
- When you finish feeding your baby, break the bottle down into four pieces
- Wash all these in warm, soapy water
- Use the lid to measure the mils of regular tap water
- Pour it into the base
- Stand the teat on to the base and the lid on that
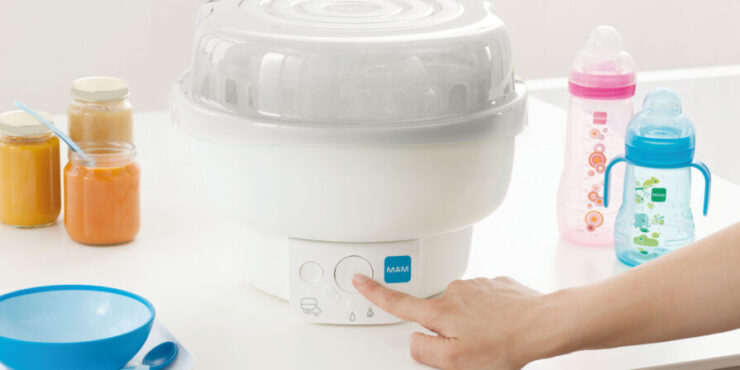
- Put away into the microwave for three minutes to steam/sterilize the bottle
This can be done in a regular sterilizer as well. But if you are using a sterilizer, you don’t have to put the parts together before putting it in the sterilizer.
You’ll need to have everything separate before putting it into the device.
How to Sterilise MAM Bottles (Step by Step Guide)
This instruction above is a general guideline for sterilizing the MAM baby bottle. In this section, we’ll go over the steps and explain what you need to do at each stage.
In the case of the anti-colic bottle, there is actually an innovative self-sterilizing function already built into the bottle.
One thing you’ll discover if you are an experienced mom is that most bottles don’t have this kind of design. You either have to make do with washing them or just use a sterilizer to keep them free of germs.
But for this one bottle, the case is different. Since the mechanism is already built in to help you, keeping the bottle germ-free is going to be a lot easier compared to other bottle brands.
And if you are a new mother, that wouldn’t make the case different as you’ll find the process is self-explanatory.
To make it easy for you, here is a little guide on how to sterilize the MAM Anti-Colic bottle.
Note: for this method to work, you’ll need a sterilizing device or microwave. If you don’t have any of these, you can purchase a microwave from Amazon here and a sterilizer here. You won’t be able to do this without any of these items.
After learning how to sterilize mam bottles, you’ll be able to apply the knowledge to all the brand’s baby bottles.
Here are the steps::
Step 1: Wash With Warm, Soapy Water
The first thing you want to do after your baby’s done feeding is to wash the bottle with warm, soapy water. This will clear out all the dirt and the food remnants from the bottle.
Step 2: Measure the Water
Once you’re through with feeding your baby, take the cap and fill it with 20 ml of water. After that, pour the water into the base.
Note: the measurement on the cap makes it easy to quantify the exact amount of water you’ll need to sterilize the bottle. So you aren’t going through any trial and error here, just straight proper measurement.
Step 3: Assemble
Pile up all the bottle parts together for sterilization. Don’t fasten them together at this stage, everything should be loose and not too tight.
Note: by leaving the parts loosened, it’ll allow the water to diffuse through it and the steam that’ll be created will be evenly distributed all through the parts. Screwing the parts together will prevent this from happening.
Step 4: Sterilize the Bottle
Put it into the sterilizing device or the microwave.
Note: if you don’t have a sterilization machine, you can use your microwave too. The parts of the bottle are microwave-safe so it won’t ruin it.
There is another method where you use boiled water, but that’ll be touched in another post.
Step 5: Turn on the Sterilizer
Heat the bottle for 3 minutes at 500-1000 watts. After about 3 minutes in the microwave/sterilizer, take out the bottle. You can now screw everything together.
Note: as you can see, there is a setting for heating the bottle to get the desired result. It’s important to follow this so you don’t ruin the bottle and get the opposite of your intended purpose.
How to Deal With Condensation After Sterilization
Sometimes after sterilizing, you may face the problem of condensation where water remains in the bottle. In most cases, you wouldn’t be able to use the bottle immediately because of this.
Subsequently, if the next use is still some time away, then you can rest the bottle (upside down) somewhere (like a bottle dryer) so the water can flow out and dry. Read this article for a complete solution to this.
Another thing to pay attention to is to sterilize immediately after your baby’s done eating. This will allow some time for the bottle to dry before using it again.
Or if you have more than one bottle, then you won’t need to rush the drying. In fact, it’s best to have more than one bottle for your baby so you can pace every sterilizing you do.
So, if you are among those looking for the solution to how to sterilize mam bottles, I hope you find this useful.
Final Words
You’ll find that the process of sterilizing baby bottles is a little bit different from brand to brand. Most times, you’ll probably need to use a sterilizer for this but at other times, you can make use of your microwave.
Fortunately, most homes have a microwave. So, if you don’t have a sterilizer, you can still do this properly. The advantages of doing this are many, which is why you’ll find many moms doing it.
First, it can help kill all the germs in the baby feeding bottles which can affect your baby. Second, it helps in keeping your baby healthy and free from bacteria.
Third, it prevents the development of mold on the bottle, which often happens due to the carelessness of parents. Therefore, your baby is going to appreciate you a lot for taking the time to take care of him/her.