
Last week my entry for So You Think You’re Crafty won the “Water/Sea” round. Today I’m going to show you how I made it. The theme is “Edible” and there are some cool entries.
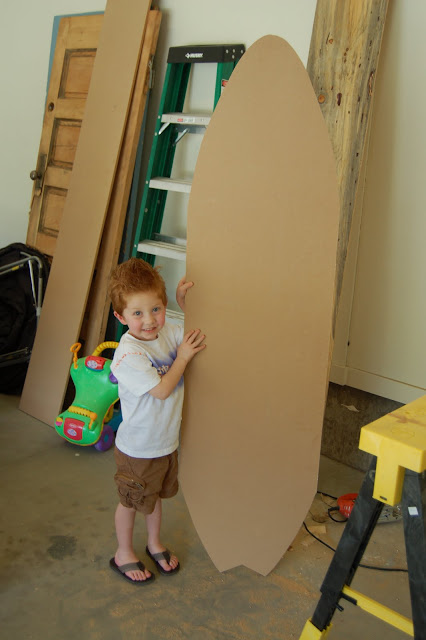
To make this towel rack you will need a large sheet of MDF. I purchased a sheet that was 4’x8′ and a half-inch thick. (You’ll have extra MDF for another project.) I think the easiest way to get the surfboard shape is to cut one long strip first so it’s still 6′ long, but about 2′ wide. (Usually, they will cut make a few basic cuts for you at no cost at the Depot.) Then sketch out a surfboard shape and cut it out. Sand the edges. (Find a cute nephew to model the cut board.)
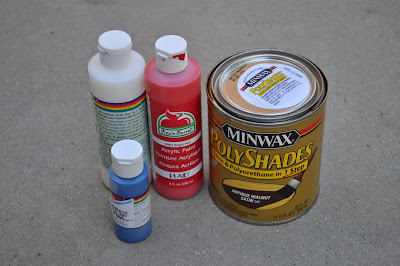
Paint the surfboard. You can use regular acrylic paint as you’d find at the craft store. Paint the whole board white (or whatever color you’re currently loving).
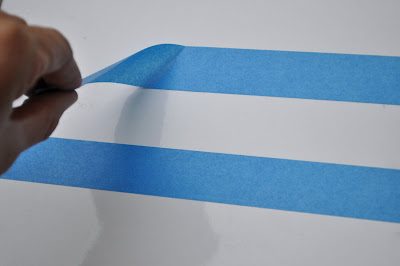
Next paint the stripes. Painter’s tape is a must for this one.
Now it’s time to paint on the name, which could be a surfboard brand OR I used the last name of the family who the surfboard was for. I usually free-hand it, but if you’re not comfortable doing that, find a font you like and print the text off your computer. Turn the paper over and scribble all over the reverse side of the paper where the text is. Line up the paper where you want the letters to appear on the surfboard. Take a pencil and outline the letters. This will create a faint outline of your text on the surfboard. Now paint in the letters.

To give the board an aged look, rough up the edges with sandpaper. If you want it really antiqued you can get out the electric sander. Once it’s roughed up as much as you want, add the polyurethane + stain shown in the picture above of the paint. I like to dip a rag into it and rub it on to my liking.
Lastly, screw on your hooks (following the instructions on the package) and hang your board. My sister painted the pictures above and used the same stain to antique them as well.
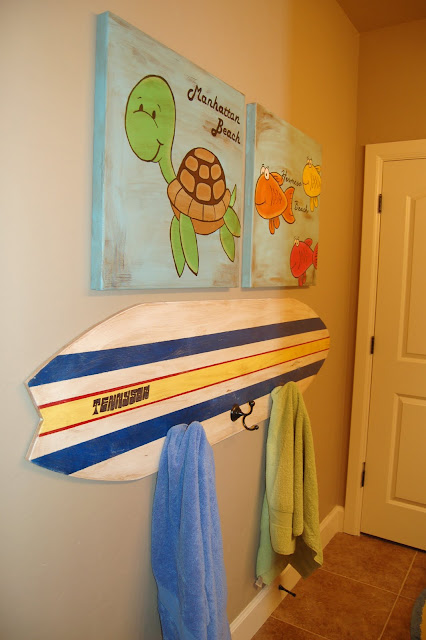
That’s it! Now you’re ready to find a big wave in the bathtub. Surf’s up dude!